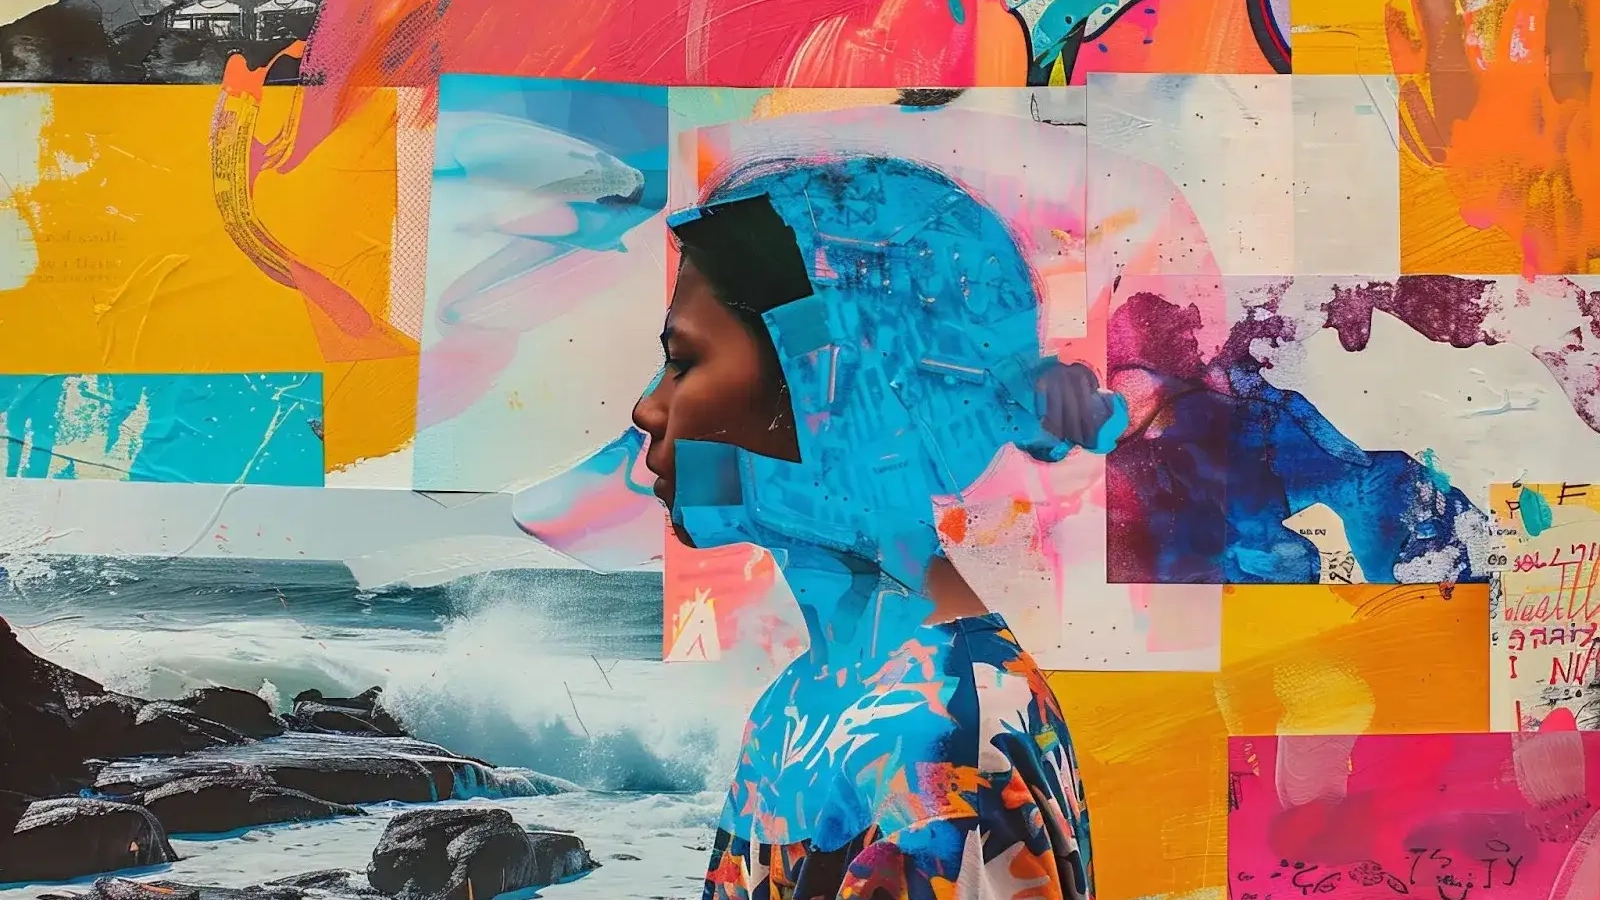
Mixed Media Art What It Is And Essential Things You Need To Know

Mixed Media Art: What It Is And Essential Things You Need To Know

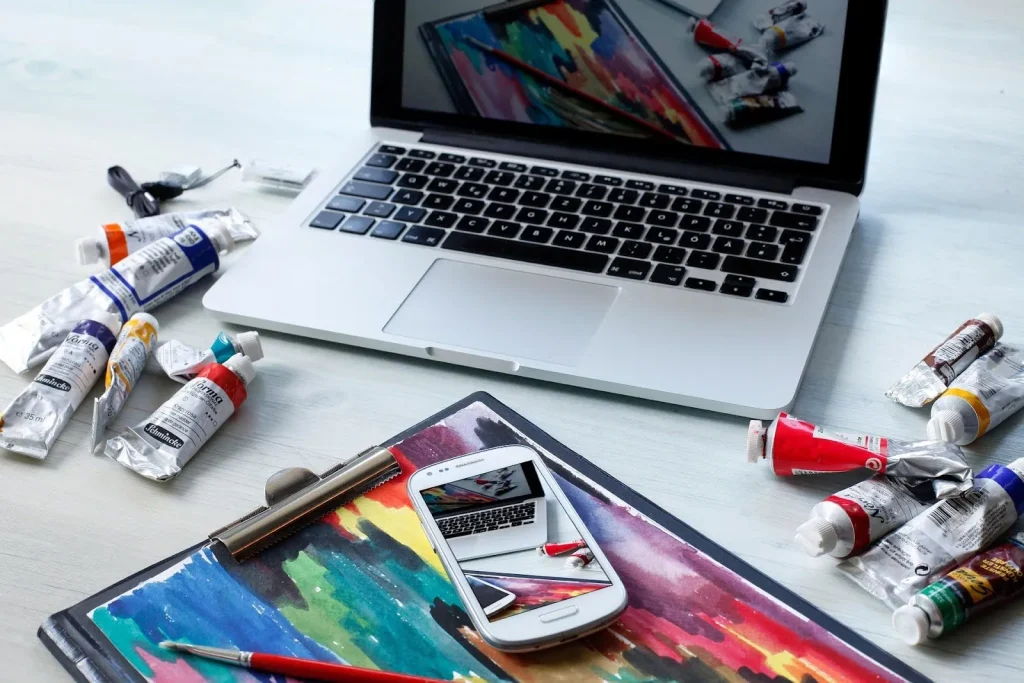
Art has never been about following strict rules, but some forms take rebellion to a beautiful new level. Mixed media art is a visual art form that combines a variety of different media into a single artwork.

Instead of sticking to just oil paint or pencil, an artist might layer newspaper clippings over a watercolour wash or glue fabric onto a painted canvas.

It is a technique that invites you to play with materials and ignore the boundaries between different disciplines. In this guide, we will explore the history, definitions, and mixed media art examples you need to understand this versatile genre.

What Is Mixed Media Art?

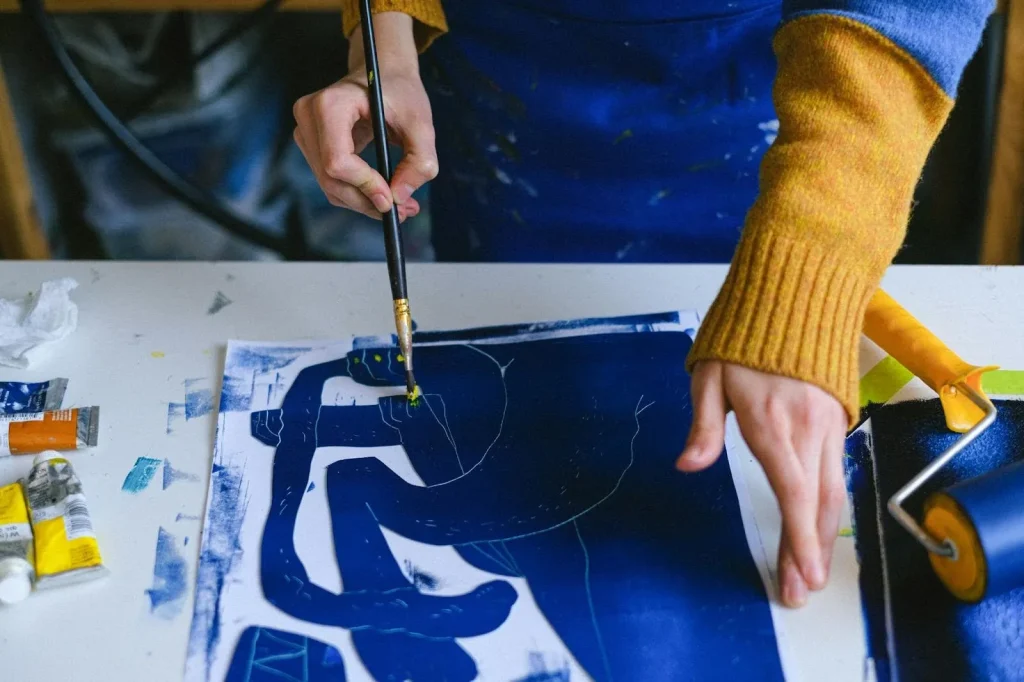
Mixed media art refers to any artwork where more than one medium has been employed to create the final piece. If you draw with ink on top of an acrylic painting, you have created mixed media.

It is important not to confuse this with “multimedia art”. While they sound similar, multimedia typically involves non-visual elements like recorded sound, video, animation, or interactivity.

Mixed media is generally strictly physical and visual, involving materials you can touch and see on a canvas or sculpture.

The philosophy behind this art form is pure freedom. It allows the artist to choose whichever material best conveys their message, regardless of tradition or expectation.

The History: How Picasso Broke The Rules
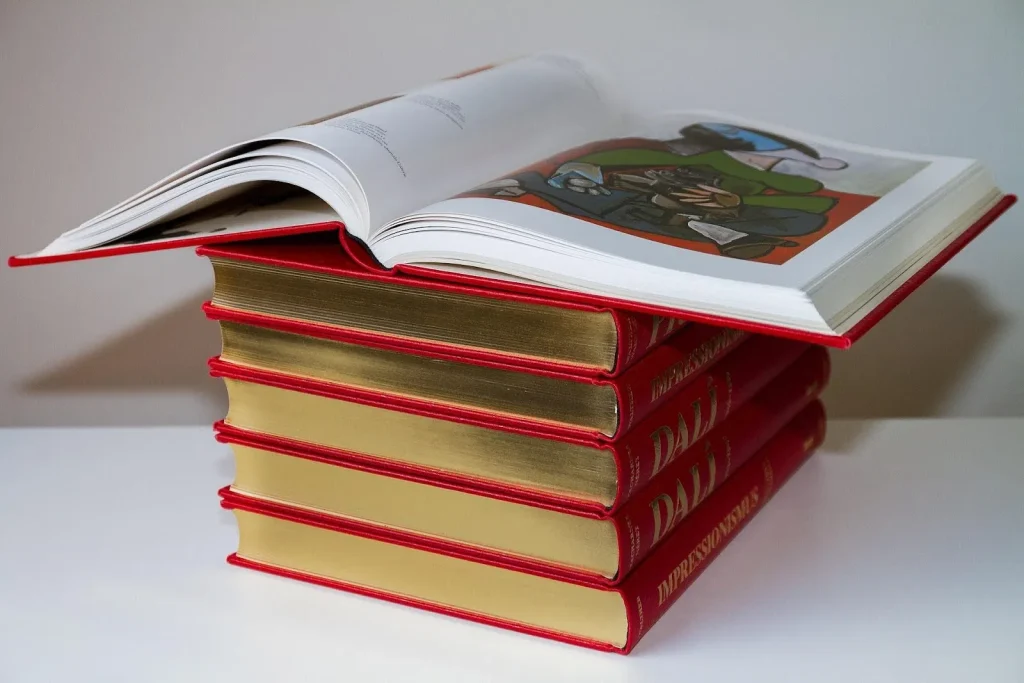
The History How Picasso Broke The Rules

This creative revolution began when artists decided that traditional paint was no longer enough to express their reality. The origins of mixed media art are widely traced back to the Cubist movement around 1912.

Pablo Picasso and Georges Braque are credited as the pioneers who legitimised this technique.

Picasso’s piece Still Life with Chair Caning is often cited as a pivotal moment in art history. He incorporated oilcloth and rope into his painting, effectively blurring the line between “high art” and everyday objects.

Since those early days, the style has evolved through movements like Dadaism and Surrealism. Today, it remains a favourite approach for contemporary artists who wish to challenge our perceptions of what art can be.

5 Popular Mixed Media Art Examples And Types
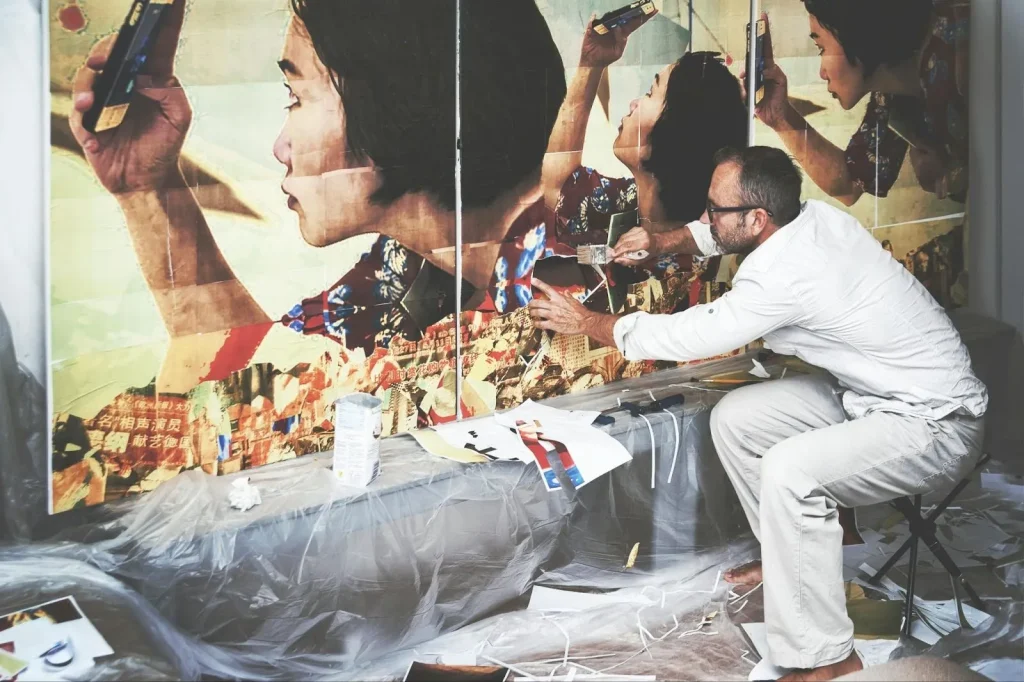
5 Popular Mixed Media Art Examples And Types

Because the definition is so broad, this art form appears in many different shapes and sizes. Here are five distinct types and mixed media art examples that showcase the versatility of the medium.

1. Collage (The 2D Pioneer)

Collage comes from the French word coller, which means “to glue”. This is perhaps the most recognisable form of mixed media.

It involves attaching flat materials like photographs, coloured paper, and magazine clippings onto a backing surface. The result is a new image composed of disparate parts, often creating a surreal or layered effect.

2. Assemblage (The 3D Composition)

If collage is two-dimensional, assemblage is its three-dimensional counterpart. These works are often freestanding sculptures or relief pieces that project from the wall.

Artists create assemblage by grouping together non-art objects, such as scraps of wood, metal, or old toys. It is about building a composition from things that already exist in the world.

3. Found Object Art (Readymades)

Found object art takes an ordinary item and modifies it to become a piece of art. The artist selects an object that was not originally intended for artistic functions and presents it in a new context.

A famous historical example is Marcel Duchamp’s Bicycle Wheel, where he simply mounted a bicycle wheel onto a wooden stool.

4. Altered Books

This is a specific and intimate form of mixed media where a book serves as the canvas. The artist takes an existing book and paints, cuts, folds, or glues the pages to transform it.

The book becomes a sculptural object or a visual narrative that interacts with the original text.

5. Digital Mixed Media (The Modern Gap)

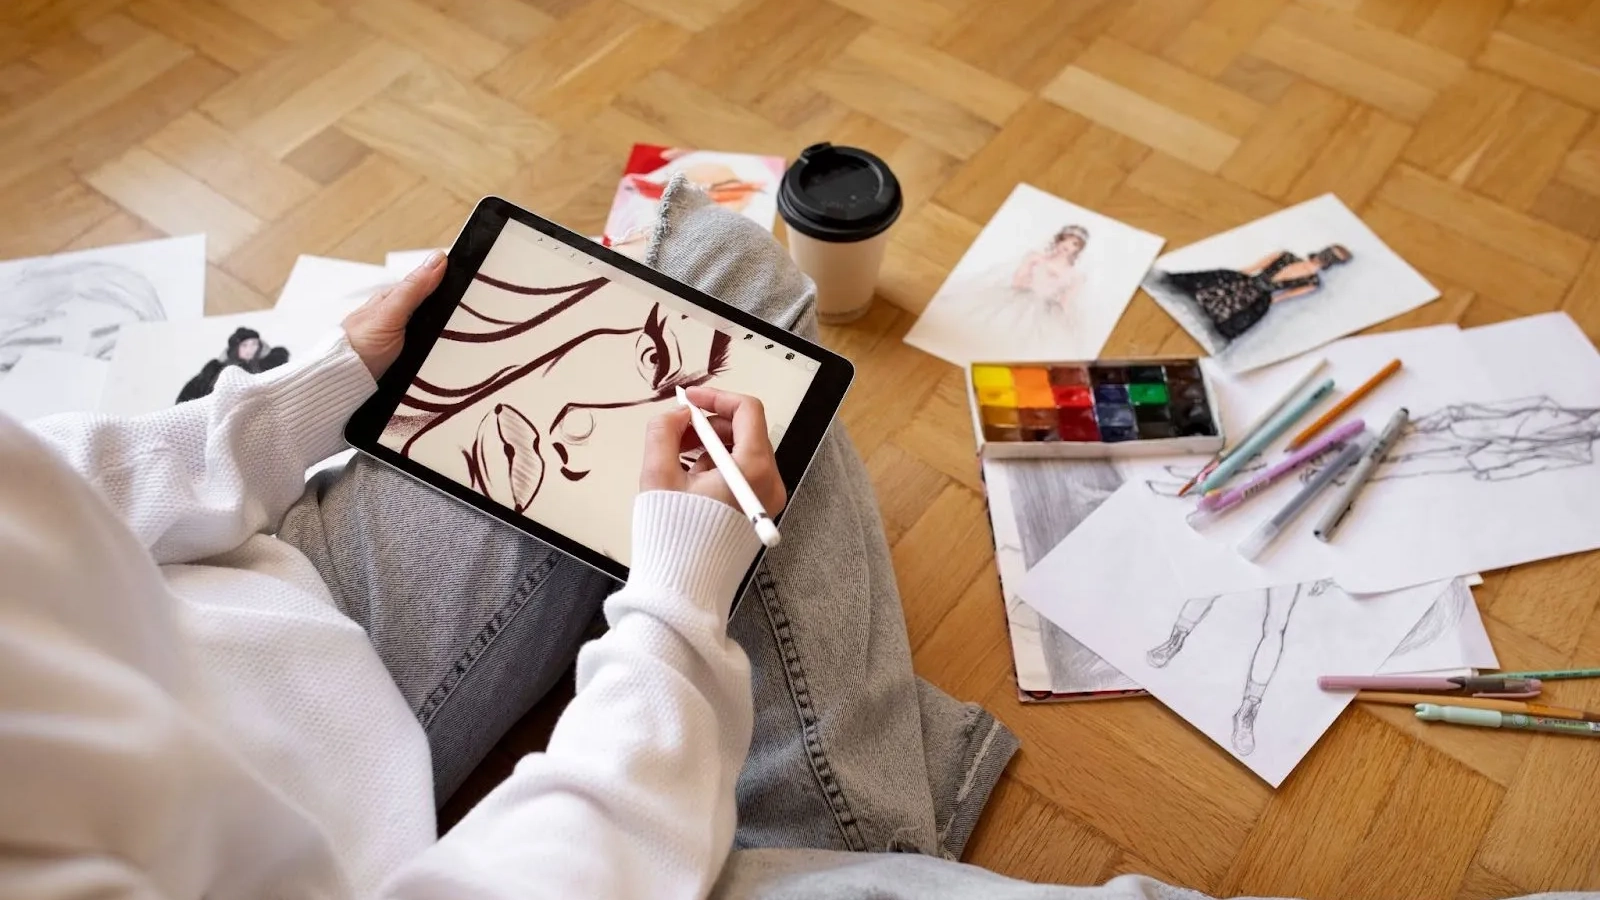
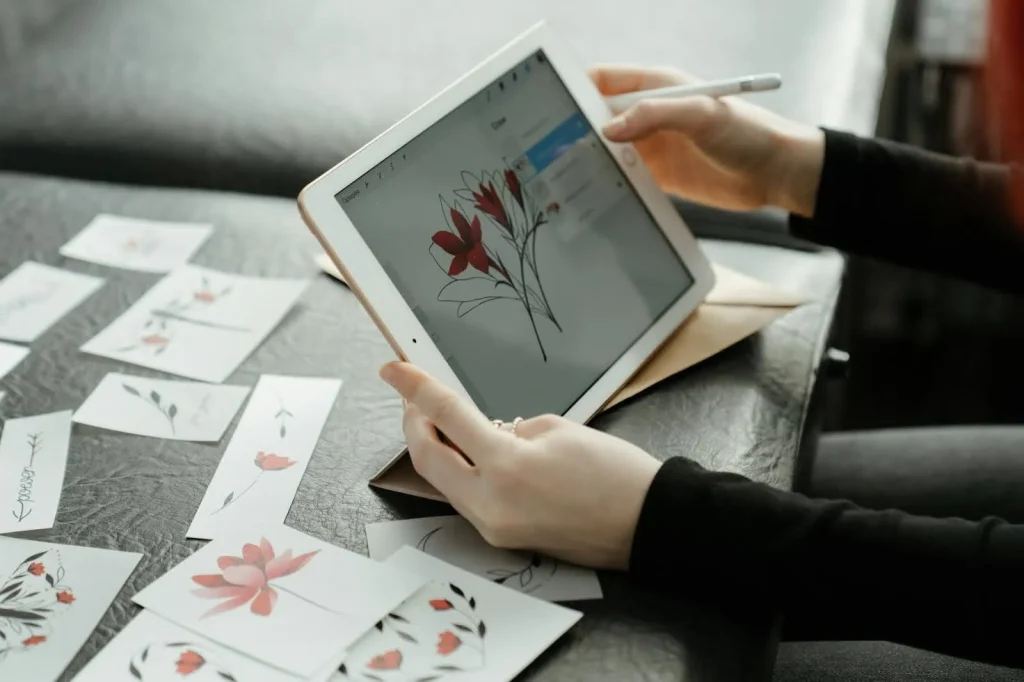
We are seeing a rise in mixed media art that bridges the gap between the analogue and the digital. This involves merging traditional sketching or painting with digital arts.

An artist might scan a watercolour painting and manipulate it in software like Photoshop. They might also print digital designs onto a canvas and then paint over them by hand.

Understanding The Materials: Wet Vs. Dry Media
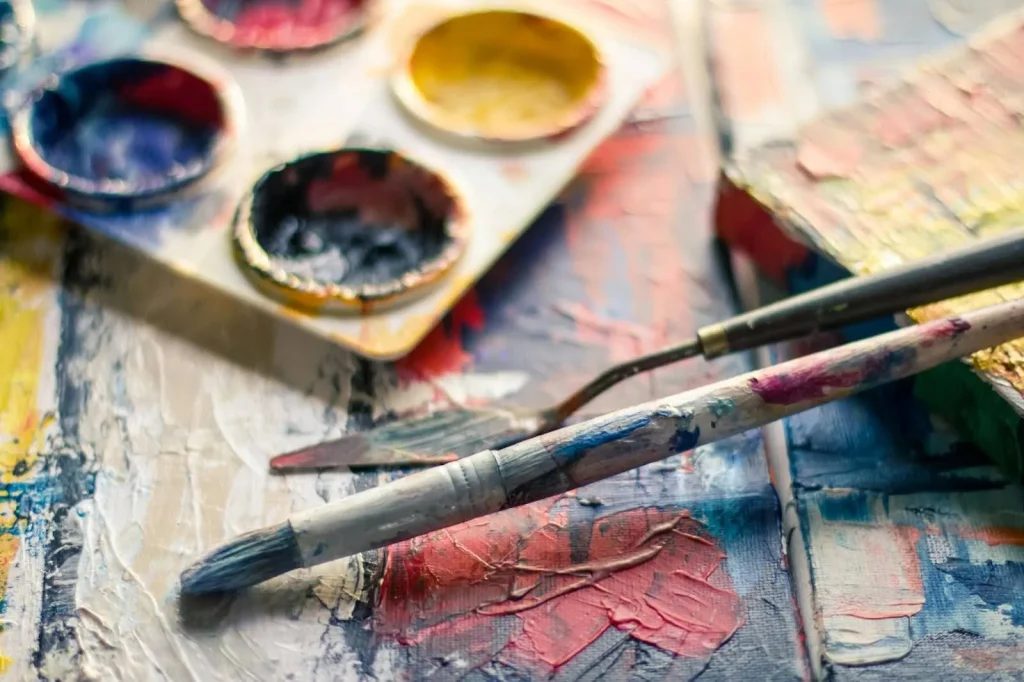
Understanding The Materials Wet Vs. Dry Media

Creating these works often comes down to understanding the interaction between two categories of materials. What is mixed media art if not the successful marriage of wet and dry ingredients?

Wet media includes anything that is applied in a liquid state. This covers materials like acrylic paints, watercolours, inks, and markers.

Dry media refers to materials that are applied directly without liquid. Common examples include graphite pencils, charcoal, pastels, and crayons.

The magic happens when these two interact on the page. For instance, using an oil pastel (dry) to resist a wash of watercolour (wet) creates texture and depth that a single medium cannot achieve.

Sustainability And Eco-Art: The Modern Approach

Mixed media has become a primary vehicle for sustainable art practices in the modern world. Upcycling is a natural fit for this genre because it encourages the use of non-traditional materials.

Artists are increasingly turning trash into treasure by using discarded plastic, scrap metal, and old packaging in their work. It allows creators to make powerful environmental statements while reducing waste.

This also makes it one of the most accessible art forms for beginners. You do not need expensive supplies to start; you often just need to look in your recycling bin.

Why Is Mixed Media Art Important Today?

Breaking The Pressure Of Perfectionism

This art form remains relevant because it perfectly mirrors the complexity of our modern lives. It breaks the pressure of perfectionism that often comes with traditional fine art.

Art Therapy And Personal Expression

The layered nature of the medium allows for constant revision and covering up of “mistakes”. This has made it incredibly popular for art therapy and personal expression.

The Rise Of Art Journaling

We see this popularity in the rise of “Art Journaling”. Many people use mixed media to document their daily lives, combining receipts, tickets, and sketches into a visual diary that captures the feeling of a moment.

Conclusion About Mixed Media Arts

Mixed media art defines itself by a lack of limitations. You use your vision to combine materials in new and exciting ways. This medium proves that art is about expression rather than strict rules.

Art Pazionate is here to celebrate your unique artistic expression. We provide personalized attention and curated programs, from a kids art class to advanced workshops, to empower you to create anything you have in mind. Our team is excited to journey with you to achieve your art goals.

Contact us today to discover your creative potential!

Frequently Asked Questions About Mixed Media Arts

What Is The Difference Between Mixed Media And Multimedia?

Mixed media refers to combining physical visual materials like paint and paper. Multimedia usually includes non-visual elements such as sound, video, or digital interactivity.

Do I Need Expensive Supplies To Start Mixed Media Art?

No, you can easily start with materials found around your home. Recycled cardboard, old magazines, and a basic glue stick are perfect for beginners.

Can I Mix Oil Paint With Acrylic Paint?

You can paint oil over acrylics once they are dry, but never the other way around. Acrylic paint will not stick to oil surfaces and will eventually peel off.

Is Digital Art Considered Mixed Media?

Yes, if it is combined with traditional physical methods. For example, printing a digital design on canvas and painting over it creates a digital mixed media piece.

What Is The Best Glue To Use For Collage?

A clear acrylic gel medium is the gold standard for durability and texture. For simple paper projects, a standard glue stick or PVA glue works well enough.

How Do I Seal My Mixed Media Artwork?

Use a spray varnish or a clear acrylic sealer to protect your work. This prevents paper from yellowing and protects different layers from dust and moisture.
Gouache Painting 13 Facts To Unlock Your Creativity

Gouache Painting: 13 Facts To Unlock Your Creativity

Have you ever stared at a blank sheet of paper, paralysed by the fear of making a mistake you cannot fix? You are not alone.

For many beginners and parents, the pressure to be perfect often stifles the simple joy of creating. This is where gouache painting comes in.

It is often described as the “forgiving medium” because it bridges the gap between structure and freedom.

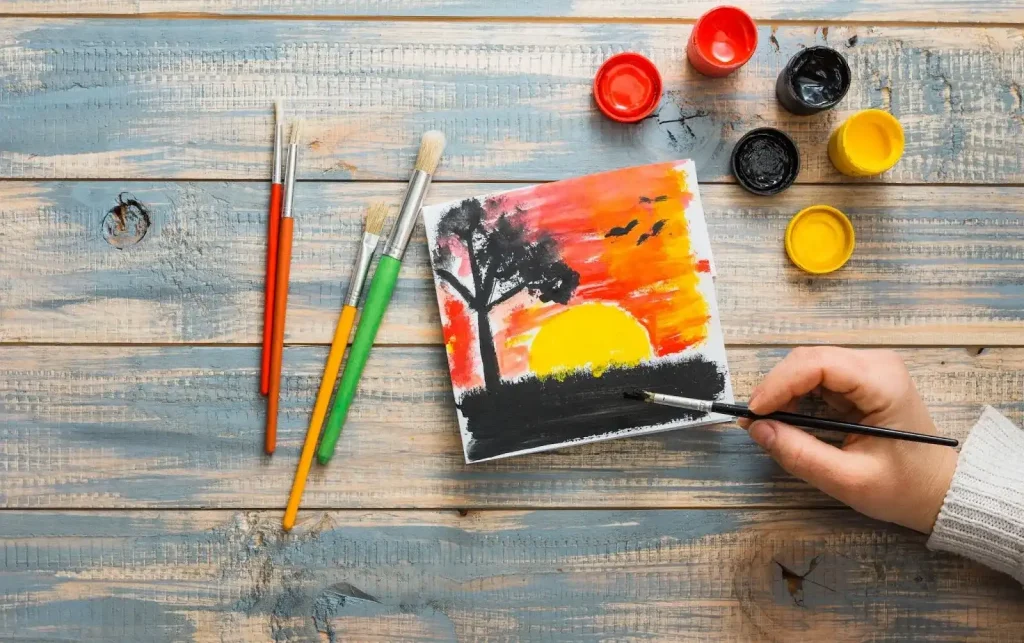
If you are wondering what a gouache painting is, the simple answer is that it is an opaque watercolour. It dries to a beautiful, velvety matte finish that feels modern yet timeless.

By the end of this article, you will have the confidence to pick up a brush. You will see why this medium is the key to unlocking a new level of artistic confidence for yourself or your child.

1. It Is Essentially “Opaque Watercolour”

1. It Is Essentially Opaque Watercolour

To understand gouache painting, you first need to look at its ingredients. It is made of pigment and gum arabic, just like watercolour.

However, there is a key difference in how it is made. Gouache (pronounced gwash) has a much higher pigment load and larger particles than transparent watercolour.

This density is what makes it opaque. It allows for solid coverage that hides the paper underneath, giving you bold and vibrant results immediately.

2. It Is The Most “Forgiving” Medium For Beginners

One of the biggest barriers to starting art is the fear of wasted investment or “ruining” the paper. Gouache painting solves this problem beautifully.

If you make a mistake with acrylics, it dries into plastic and stays there forever. If you make a mistake with watercolour, it is very difficult to hide.

With gouache, you can simply re-wet the paint on the paper and lift it off. You can fix “happy accidents” easily, which lowers the stakes and encourages you to take creative risks.

3. You Can Paint Light Over Dark (The Layering Advantage)

In traditional watercolour, you must preserve the white of the paper for your highlights. This requires a lot of planning and can be stressful for beginners.

What is a gouache painting good for if not breaking these rules? Because it is opaque, you can paint lighter colours directly on top of darker ones.

You can paint a dark night sky first and add bright white stars on top later. This layering capability gives you the freedom to change your mind as you create.

4. It Dries To A Photogenic Matte Finish

4. It Dries To A Photogenic Matte Finish

Gouache absorbs light rather than reflecting it. This results in a flat, velvety matte finish that looks incredibly smooth.

This quality makes gouache painting examples look stunning in photographs because there is no glossy glare.

It is also the preferred medium for illustrators who need to scan their work for digital design. If your child is building a portfolio for school admission, this professional finish stands out.

5. Famous Masters Used It For Serious Art

Do not let the term “poster paint” fool you. This medium has a rich history and has been used by masters for centuries.

Henri Matisse famously used gouache to create his iconic “cut-outs,” such as The Fall of Icarus. He painted sheets of paper with vibrant gouache and cut them into shapes.

Thomas Moran, the famous landscape painter, also used it for his field sketches. It is a serious medium capable of incredible expression.

6. Consistency Is Key: Think “Melted Ice Cream”

If you are wondering how to get that smooth application, it is all about water control.

If you use too much water, it will streak like weak watercolour. If you use too little, it might crack or crumble off the page.

You want a creamy consistency. Aim for a texture that feels like melted ice cream or soft butter. This allows the paint to glide effortlessly across the paper.

7. Be Aware Of The “Value Shift”

7. Be Aware Of The Value Shift

There is a slight quirk you should know about before you start. Colours in gouache painting often shift in value as they dry.

Lighter colours (like yellow or white) tend to dry slightly darker. Darker colours (like brown or navy) tend to dry slightly lighter.

This is not a defect. It is simply a characteristic of the medium that you will learn to predict with practice.

8. You Need The Right Paper Weight

Since gouache is heavier and uses water, standard sketch paper will not hold up well. It may buckle or warp under the weight of the paint.

We recommend using watercolour paper that is at least 300gsm (140lb).

You can choose Hot Pressed paper if you want a smooth surface for fine details. Cold Pressed paper is better if you prefer a bit of texture in your work.

9. There Are Two Main Types: Traditional vs. Acrylic

When shopping for supplies, you might see “Acrylic Gouache” and wonder what is gouache painting’s relationship to it.

Traditional gouache remains water-soluble even after it dries. This means you can reactivate it with water to blend edges.

Acrylic gouache has a polymer binder. Once it dries, it is permanent and water-resistant. We recommend Traditional Gouache for beginners who want that “undo” button option.

10. It Is Perfect For “Plein Air” (Outdoor) Painting

10. It Is Perfect For Plein Air (Outdoor) Painting

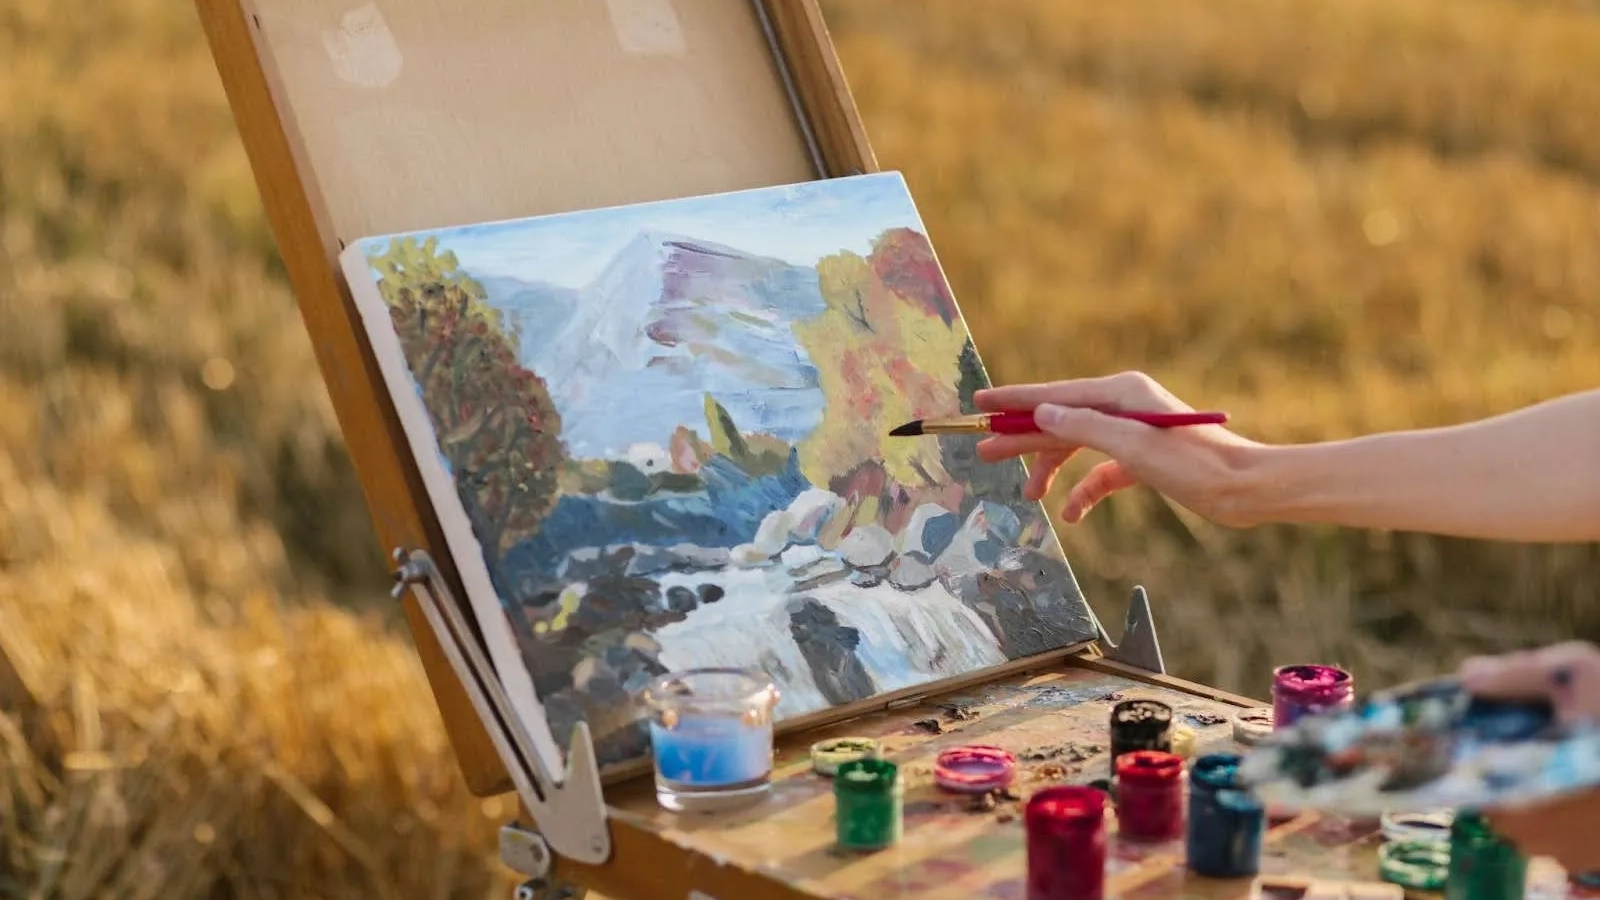
Gouache dries very quickly. This makes it the ideal companion for painting outdoors, also known as plein air painting.

You do not need to wait hours for layers to dry like you do with oil paints. You can capture a scene rapidly.

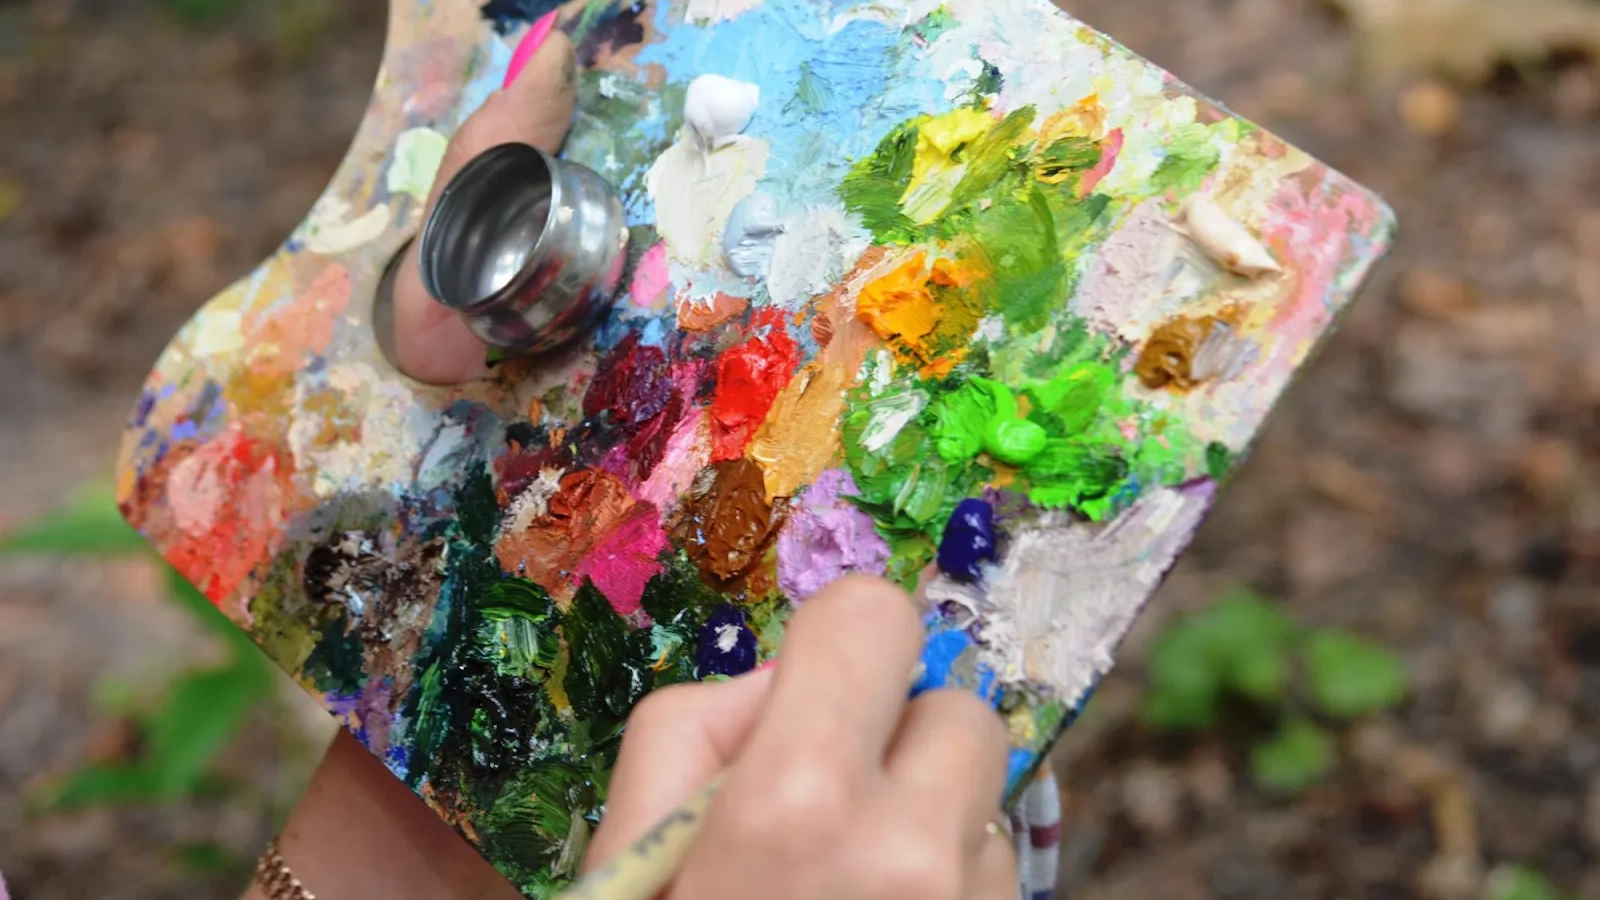
If you use an airtight palette, you can keep your squeezed paints fresh for travel. It is convenient for sketching holidays or a casual art jamming session at the park.

11. You Don’t Need Expensive Gear To Start

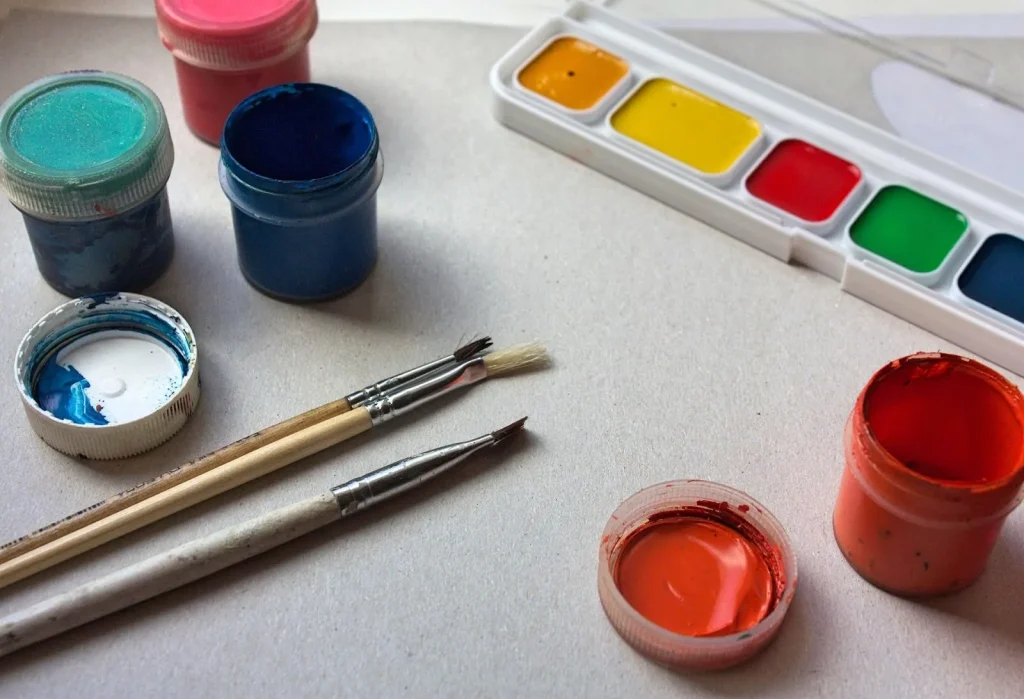
Many parents considering kids art classes worry about buying expensive sets only for their child to lose interest. The beauty of gouache painting is that you need very little to start.

You do not need a 50-colour set. You can mix almost any colour you need using just the three Primaries (Red, Blue, Yellow) plus Black and White.

This low barrier to entry makes it an excellent choice for learning colour theory without breaking the bank.

12. It Is Safer And Easier To Clean Than Oil

For home studios, safety and cleanliness are top priorities. Oil paints often require solvents like turpentine, which can have strong fumes.

Gouache is water-based and has very little odour.

It cleans up easily with just soap and water. If paint gets on a table, it wipes right off, making it a stress-free option for home creativity.

13. Don’t Panic If You See Clear Liquid

13. Don't Panic If You See Clear Liquid

Sometimes when you open a tube, you might see a bit of clear or yellowish liquid come out first.

This is just the binder separating from the pigment. It does not mean the paint has gone bad.

Simply use a toothpick to stir it back in, or massage the tube gently before opening. It is a normal part of the process.

Conclusion About Gouache Painting

Gouache painting offers a unique blend of structure and freedom that empowers artists of all levels. You can build confidence quickly knowing that every mistake is simply a new opportunity.

Art Pazionate is dedicated to nurturing that creative spark within you. We celebrate your individuality through personalized guidance and carefully curated programs designed to help your artistic vision flourish.

Contact us today to book your trial class and start creating!

Frequently Asked Questions About Gouache Painting

Is Gouache Paint Waterproof When Dry?

No, traditional gouache remains water-soluble even after it dries, allowing you to reactivate and blend layers. If you need a permanent finish, you should look for acrylic gouache instead.

Can You Use Gouache On Canvas?

While possible, it is not recommended because gouache is brittle and can crack on flexible surfaces like canvas. It performs best on heavy watercolour paper or rigid illustration boards.

Why Is My Gouache Painting Cracking?

Cracking usually happens when the paint is applied too thickly or if there is not enough water mixed in. Aim for a creamy consistency like melted ice cream to prevent this issue.

What Is The Difference Between Gouache And Watercolour?

The main difference is opacity; watercolour is transparent and relies on the paper for light, while gouache is opaque and covers the surface. Gouache also has a heavier pigment load and dries to a matte finish.

Do I Need Special Brushes For Gouache?

You can use watercolour brushes, but synthetic flat brushes are often preferred for better control. Soft natural hair brushes might be too floppy for the heavier consistency of gouache.

How Long Does Gouache Take To Dry?

Gouache dries very quickly, typically within a few minutes depending on how thick the layer is. This makes it excellent for quick studies and outdoor painting.

Can I Mix Gouache With Acrylic Paint?

Yes, you can mix them, but the resulting mixture will likely become water-resistant once dry. This creates a hybrid paint that loses the re-wettable characteristic of traditional gouache.

What Is The Clear Liquid In My Gouache Tube?

That liquid is the gum arabic binder separating from the pigment, which is normal for tubes that have sat for a while. You can simply stir it back in with a toothpick or massage the tube before opening.

Digital Art vs Traditional Art 12 Key Differences & Guide

Digital Art vs Traditional Art: 12 Key Differences & Guide

The debate of digital art vs traditional art often feels like standing at a crossroads without a map. You might find yourself clutching a simple sketchbook while eyeing the expensive tablets behind the glass, unsure which path leads to the artist you want to become.

Many beginners fear investing time and money into a medium that might not actually suit their personal goals. It is overwhelming to worry that picking the “wrong” tool could stunt your creative growth before you even begin.

This guide breaks down the distinct benefits and trade-offs of both mediums side-by-side to clear up the confusion. You will discover exactly which approach aligns with your budget, lifestyle, and artistic ambitions.

The Main Difference Between Digital And Traditional Art

The primary distinction of how digital art differs from traditional art is that traditional art produces a physical object you can hold, while digital art creates a data file on a computer. This fundamental difference changes everything about how you work, from the tools you use to the skills you develop.

One method builds your physical hand-eye coordination through tactile feedback and permanent marks. The other builds your technical efficiency with editing software and flexible, non-destructive tools.

1. Fixing Mistakes: The Undo Button vs Permanent Marks

1. Fixing Mistakes The Undo Button vs Permanent Marks

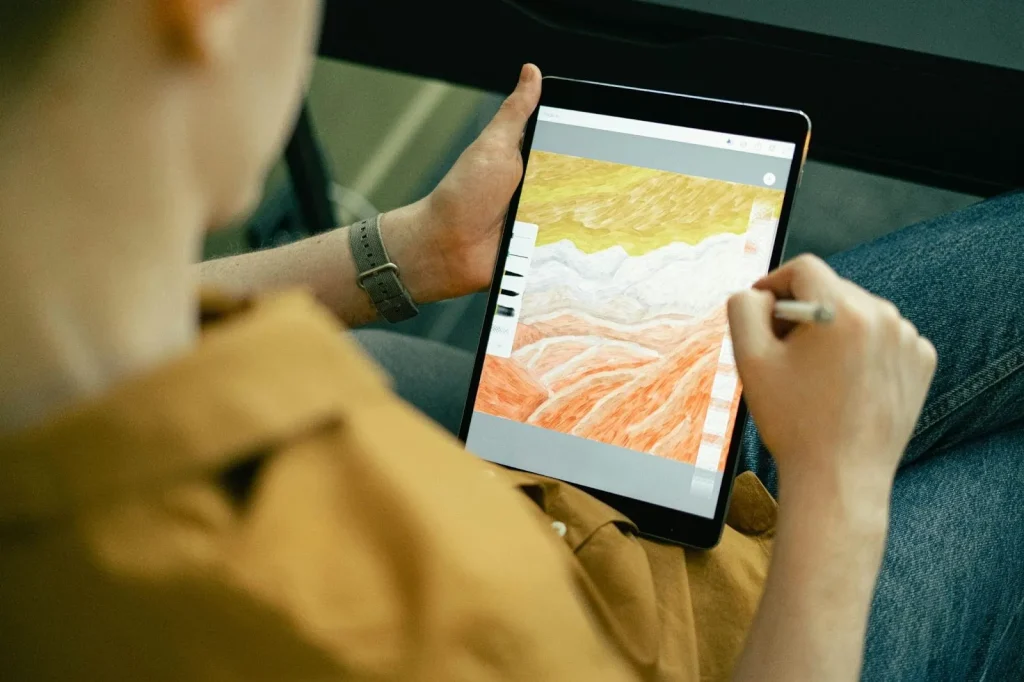
In the debate of traditional art vs digital art, the “Undo” button is the biggest game-changer. Digital software allows you to press “Ctrl+Z” to instantly vanish a mistake. This removes the fear of errors and encourages you to try wild ideas without consequence.

Traditional art is permanent. If you spill a drop of paint or draw a line too dark, it stays there. You must learn to fix it or turn that mistake into a beautiful part of the artwork. This process teaches you resilience and creative problem-solving that a computer cannot simulate.

2. The Feeling: Glass Screen vs Paper Texture

Drawing on a digital tablet feels like sliding a piece of plastic over a sheet of glass. It feels exactly the same whether you are using a watercolour brush or a charcoal pencil setting.

Traditional art offers a rich sensory experience. You feel the roughness of the paper and the friction of the pencil tip. This physical resistance is helpful for children and beginners because it develops better hand control and fine motor skills.

3. Setup Costs: One Expensive Device vs Ongoing Supplies

When comparing digital art vs traditional budgets, you have to look at upfront costs versus long-term costs. Digital art requires a high initial investment. You need a tablet or computer, and a stylus to get started.

Traditional art has a very low starting cost. You can begin your kids art classes or personal journey with just a simple pencil and a sketchbook for a few dollars. However, high-quality paints, canvases, and brushes will need to be replaced constantly as you use them up.

4. Mixing Colours: Selecting Codes vs Mixing Paint

4. Mixing Colours Selecting Codes vs Mixing Paint

The difference between digital art and traditional art is huge when it comes to colour. In digital software, you simply tap a colour wheel to select the exact shade you want. It is instant, precise, and scientifically perfect every time.

Traditional mixing is an art form in itself. You have to physically mix red and yellow pigments to find the right orange. This hands-on process teaches you how colour theory actually works in a way that selecting a digital code never will.

5. Workspace: Working Anywhere vs Needing A Studio

Digital art is incredibly portable. You can paint a landscape while sitting on the bus or draw in bed without making a mess. You do not need good lighting because the screen provides its own light.

Traditional art requires a dedicated space. You need room to spread out your supplies, good lighting to see your colours accurately, and water for cleaning brushes. This requirement creates a special “creative zone” in your home that signals your brain it is time to focus.

6. Quantity Of Tools: Unlimited Brushes vs Physical Brushes

6. Quantity Of Tools Unlimited Brushes vs Physical Brushes

Digital software gives you access to thousands of tools inside a single pen. You can switch from an oil brush to an airbrush in a second without washing anything. It is efficient and keeps your workspace tidy.

Traditional art requires you to own the physical tools for every technique you want to use. You build a relationship with your favourite brushes and learn exactly how they behave. There is a romance to caring for your tools that many artists cherish.

7. Speed Of Work: Fast Edits vs Slow Process

If you look at digital art vs traditional workflows, digital is almost always faster. You can fill an entire background with colour in one click or resize a character instantly. This speed is perfect for tight deadlines.

Traditional art is a slower and more meditative process. You have to wait for layers of paint to dry before adding more. This slower pace forces you to slow down your mind and creates a relaxing break from a busy day.

8. Originality: Printable Files vs One-Of-A-Kind Art

8. Originality Printable Files vs One-Of-A-Kind Art

Digital art consists of pixels and code. It can be printed thousands of times, and every single copy will look exactly like the first one. There is no single “original” master copy.

Traditional art produces a one-of-a-kind object. Even if you try to paint the same image twice, the brushstrokes and texture will be slightly different. This uniqueness gives the artwork a special character and value that cannot be replicated.

9. Eye Health: Screen Time vs A Break From Screens

We spend so much of our lives staring at phones and computers. Digital art adds to this screen time and can lead to eye strain or headaches after long sessions.

Traditional art gives your eyes a much-needed rest from blue light. It allows you to unplug from technology and focus on the physical world. This makes it a true form of mental relaxation and digital detox, which is a key benefit of joining an adult art class.

10. How Long It Lasts: File Formats vs Physical Fading

10. How Long It Lasts File Formats vs Physical Fading

Digital files can be fragile in their own way. Hard drives can fail, and file formats can become obsolete as technology changes over the years. You must be diligent about backing up your work.

Traditional paintings can last for centuries if they are cared for properly. While they can fade or suffer water damage, a well-made oil painting is an heirloom that can be passed down through generations.

11. Career Opportunities: Industry Jobs vs Fine Art

Your career goals will heavily influence your choice. Digital art is the standard for commercial industries like animation, video game design, and web graphics. It allows for the quick edits that clients often demand.

Traditional art is highly valued in the world of fine art galleries and book illustration. People still love to buy original paintings to hang in their homes because of the texture and human touch they possess.

12. Learning Curve: Learning Software vs Learning Art

12. Learning Curve Learning Software vs Learning Art

When discussing traditional vs digital art for beginners, traditional is often simpler to start. You only have to focus on drawing and observation. There are no menus or settings to confuse you.

Digital art requires you to learn two skills at once. You must learn how to draw, but you also must learn how to navigate complex software. Learning about layers, opacity, and resolution can sometimes distract you from the actual art-making.

Our Recommendation: Which Should You Start With?

We believe the best approach is to follow a natural progression.

For children, we recommend starting with traditional art. It builds focus, patience, and the fine motor skills they need for development.

For adults, we also suggest starting with traditional mediums. It offers a sensory escape from the digital world and builds a strong foundation of skills. Once you understand the basics of light and form on paper, those skills will make you a much better digital artist if you decide to switch later.

Conclusion About Digital Art Vs Traditional Art

Both digital and traditional art offer distinct paths to express your creativity. Traditional art builds a strong foundation of resilience and sensory skills, while digital art unlocks speed and efficiency for professional work. Your choice ultimately depends on the skills you wish to build.

Art Pazionate is here to help. With our intimate class sizes since 2015, we provide personalized guidance to help your unique artistic vision flourish. If you are ready to explore your potential, consider an art jamming session or reach out to us today. A trial class could make all the difference in your creative journey.

Contact us today and book your trial class!

Frequently Asked Questions About Digital Art Vs Traditional Art

Is Digital Art Easier Than Traditional Art?

It is not necessarily easier, but it is faster because you can undo mistakes instantly. However, learning the software takes time, whereas traditional art vs digital art allows beginners to focus purely on drawing skills immediately.

Which Is More Expensive To Start?

Digital art has a much higher startup cost because you need to purchase a tablet and computer. Traditional art is cheaper to start with just a pencil, but supplies like paint and canvas cost money over time.

Do I Need To Learn Traditional Art Before Digital?

While not strictly required, learning how is digital art different from traditional art through physical practice helps you understand colour and form better. These fundamental skills translate perfectly to digital media and often make you a better digital artist.

Is Digital Art Considered Real Art?

Yes, digital art is absolutely real art because it requires the same fundamental knowledge of composition, lighting, and anatomy. The computer is simply a tool, just like a paintbrush is a tool.

Why Do Schools Teach Traditional Art First?

Schools focus on traditional art to build fine motor skills and tactile hand-eye coordination in students. It forces you to be deliberate with your marks since you cannot simply press a button to fix an error.

Can I Combine Digital And Traditional Art?

Yes, many artists use a hybrid approach where they sketch on paper to capture natural lines and then scan it to colour digitally. This gives you the tactile feel of traditional drawing with the speed of digital editing.

Can I Make A Living With Traditional Art?

Yes, traditional art is highly valued for selling original physical works in galleries and to private collectors who want unique pieces. Digital art is more commonly used for salaried jobs in commercial animation and graphic design.

What Is Acrylic Pouring A Beginner-Friendly Guide

What Is Acrylic Pouring? A Beginner-Friendly Guide

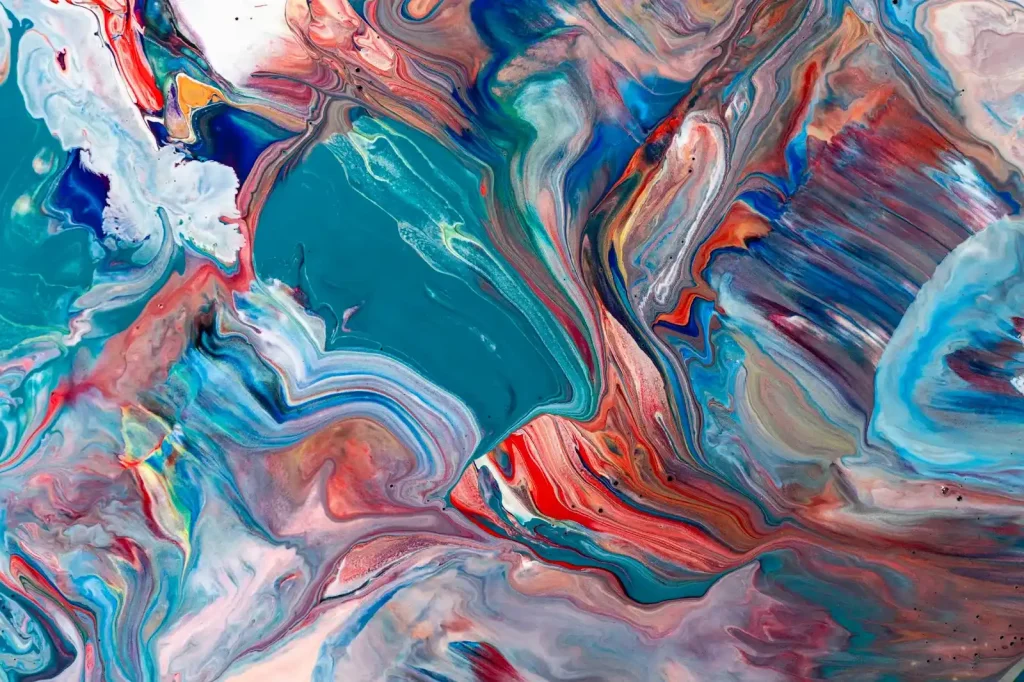
Acrylic pouring has quickly become a popular creative trend, loved by both children and adults for its vibrant colours and mesmerising flow. 

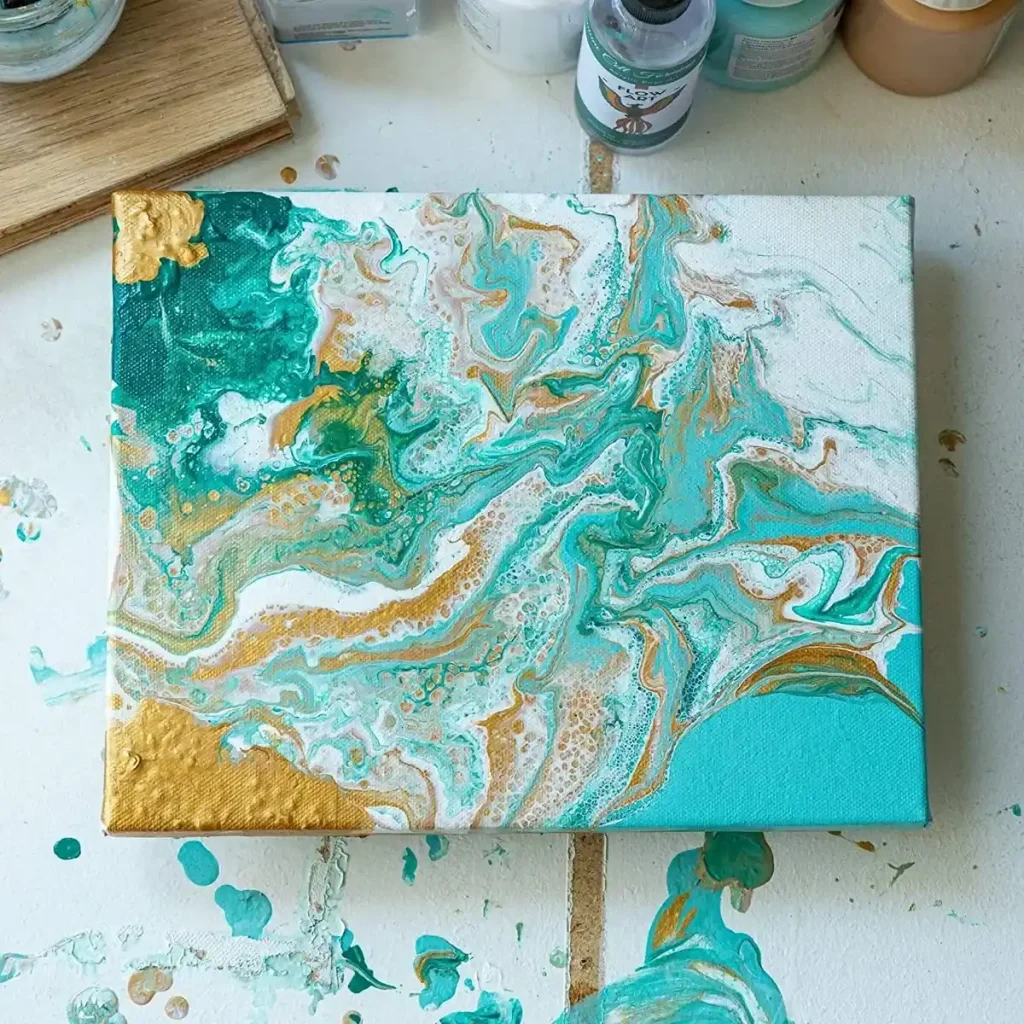
Unlike traditional painting, acrylic pouring art involves letting thinned acrylic paint glide across a surface to form beautiful, organic patterns with little need for technical skill. 

This beginner-friendly guide introduces you to how acrylic pouring works, what makes it so appealing, and the basic supplies used in fluid art. 

What Is Acrylic Pouring?

What Is Acrylic Pouring

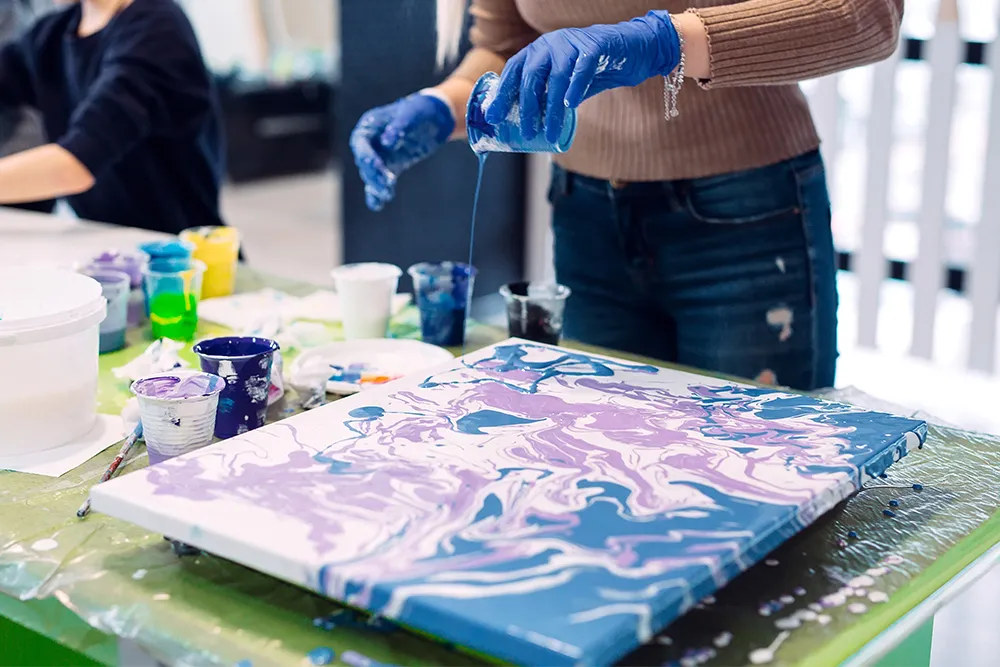
Acrylic pouring is a fluid art technique that involves mixing acrylic paint with a pouring medium to create a smooth, flowing consistency that can be poured directly onto a surface. 

Instead of using brushes or fine motor skills, the paint naturally spreads, blends and interacts on its own, forming mesmerising marbled patterns, soft gradients and organic shapes. 

This makes acrylic pouring incredibly appealing to beginners and young artists, as the process feels playful, intuitive and full of surprises.

In acrylic pouring, colour becomes the main storyteller. Once the paint is poured, gravity and movement guide the flow, allowing unique patterns to emerge without the pressure of drawing or precision. 

The beauty of the technique lies in its unpredictability, every artwork turns out different, even when using the same colours or steps. Children enjoy watching colours mix and swirl, while adults appreciate the calming, meditative aspect of the process.

Essential Supplies You Need For Acrylic Pouring

Essential Supplies You Need For Acrylic Pouring

Getting started with acrylic pouring is easier than many people expect, and having the right materials helps beginners enjoy the process with confidence. Below are the core supplies typically used in acrylic pouring and why they matter.

Fluid Acrylic Paints (Or Acrylic Paints That Can Be Thinned)

Fluid Acrylic Paints (Or Acrylic Paints That Can Be Thinned)

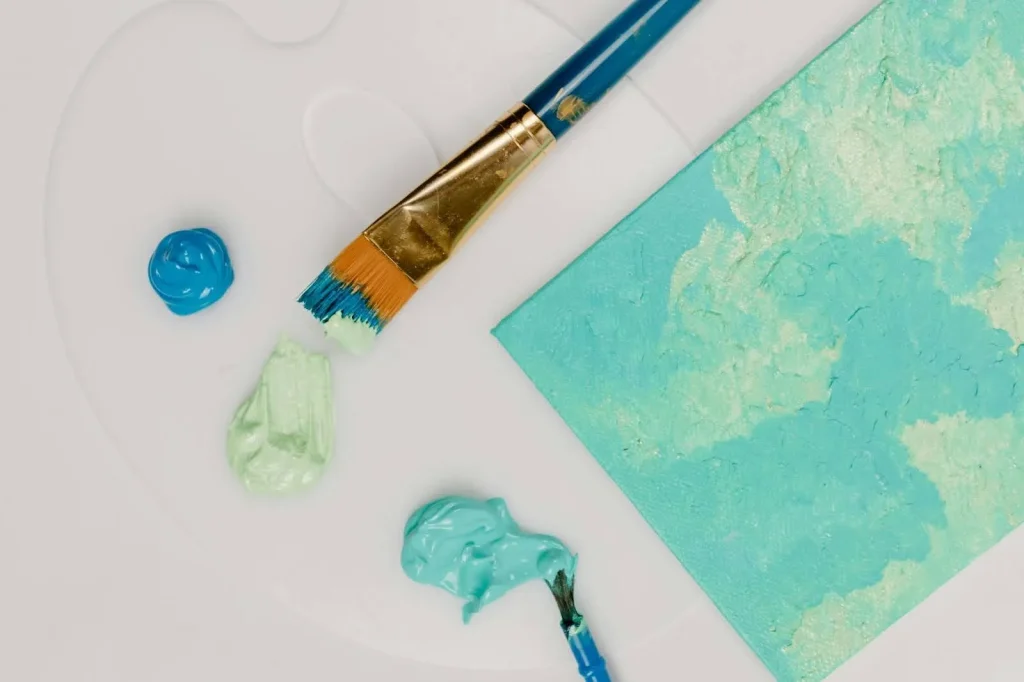
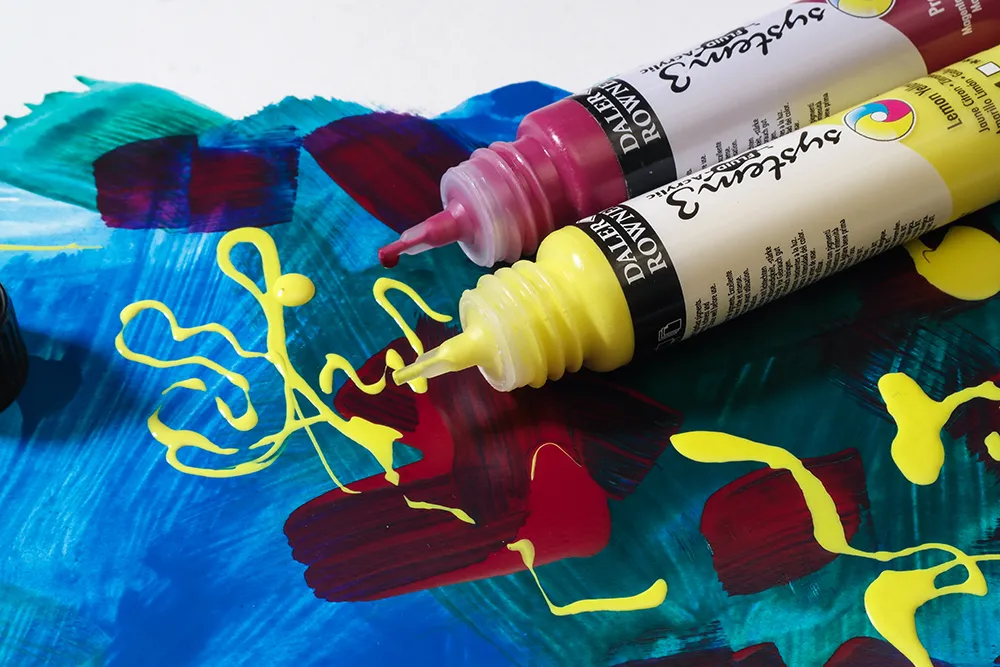
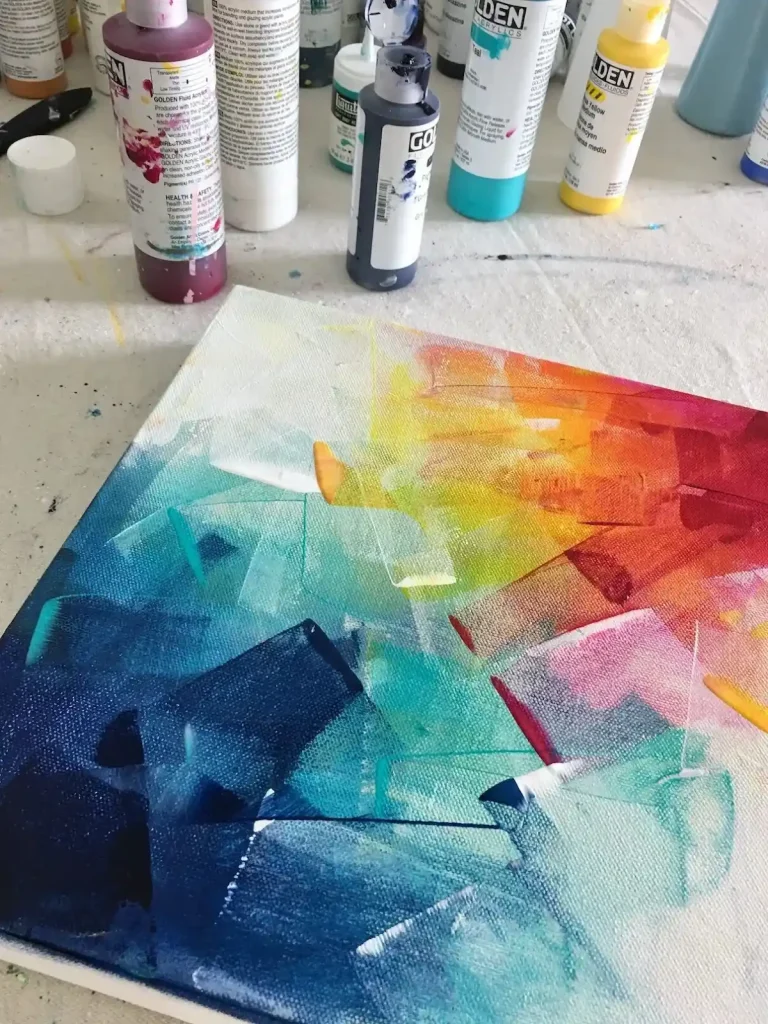
Acrylic pouring relies on paint that can move freely across a surface, so consistency is key. Fluid acrylic paints are ideal because they naturally have a thinner texture compared to heavy-body acrylics, making them easier to pour and blend without much modification. 

Their smooth, liquid consistency helps colours spread evenly, interact beautifully and form the signature marbled or abstract patterns that acrylic pouring is known for.

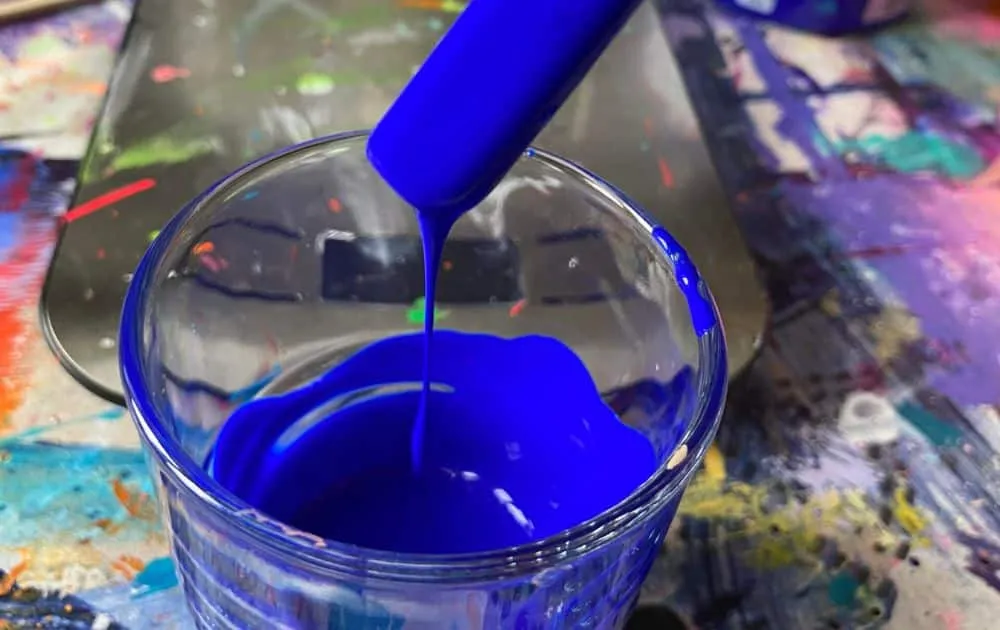
For beginners working at home, regular acrylic paints also work well as long as they are thinned to the right flow. Artists often mix heavier paints with a pouring medium to achieve a texture similar to warm honey or single cream, fluid enough to glide but still rich in colour. 

Teaching children or adult beginners how to recognise the right consistency encourages a hands-on understanding of how paint behaves. It also supports later skills, such as mixing paints for different effects, preparing colours for fabric-friendly projects or working with acrylic mediums to change texture and opacity.

Acrylic Pouring Medium

A pouring medium is one of the most important ingredients in acrylic pouring because it transforms ordinary acrylic paint into a smooth, pourable consistency without weakening the colour. 

While adding water alone can thin paint, too much of it breaks down the binder inside acrylics, leading to cracking, uneven drying or dull patches. A pouring medium avoids these issues by thinning the paint while preserving its strength, vibrancy and flexibility.

When mixed with acrylic paint, the medium enhances the paint’s ability to flow effortlessly across the surface, helping colours blend softly or separate cleanly depending on the technique used. 

It also helps prevent common pouring issues such as cracking, crazing or clumping as the artwork dries. For fluid art enthusiasts, this reliability makes the medium essential for achieving smooth results.

Learning about pouring mediums is also valuable for those more interested in glow-in-the-dark acrylic painting or other creative approaches. Mediums can be used to:

  • adjust viscosity for finer or more controlled brushwork,
  • create a silkier texture for blending glow pigments,
  • increase transparency or gloss,
  • or mix acrylics into fabric-friendly paint for clothing and textile art.

Canvas Or Other Substrate / Surface

Canvas Or Other Substrate Surface

Acrylic pouring can be done on a variety of surfaces, giving beginners plenty of freedom to explore different textures and finishes. 

Canvas is the most popular option because it is lightweight, easy to handle and typically pre-primed, allowing poured paint to glide smoothly across the surface. Stretched canvases are especially beginner-friendly for parents working with children, as they are less prone to warping and dry evenly.

Aside from canvas, wood panels are a sturdy alternative that hold their shape well and provide excellent support for thicker pours or layered designs. Their solid backing prevents sagging, which helps maintain the crispness of marbled patterns. 

Ceramic tiles, coaster blanks and other small decorative surfaces are also commonly used, particularly for kids or anyone testing colours and techniques on a smaller scale. These smooth surfaces make the paint spread beautifully and are perfect for experimenting before moving on to larger projects.

Mixing Containers And Stir Sticks

Proper mixing is essential in acrylic pouring, as the paint and medium must blend evenly to achieve the right flow. Plastic cups, reusable containers or paper mixing cups are commonly used for measuring and preparing each colour. 

Clear containers are especially helpful for beginners because they allow you to see the consistency from the sides and check for unmixed streaks of paint.

Stir sticks, such as wooden craft sticks or palette knives, help ensure all components are thoroughly combined. 

Mixing slowly but steadily prevents air bubbles, which can cause tiny craters or pinholes in the final artwork. For kids, stirring becomes a simple and engaging part of the process, they get to observe how colours transform from thick paint to silky, pourable mixtures.

Protective Setup / Workspace Covering (Plastic Sheeting/Drop Cloths)

Protective Setup Workspace Covering (Plastic Sheeting, Drop Cloths)

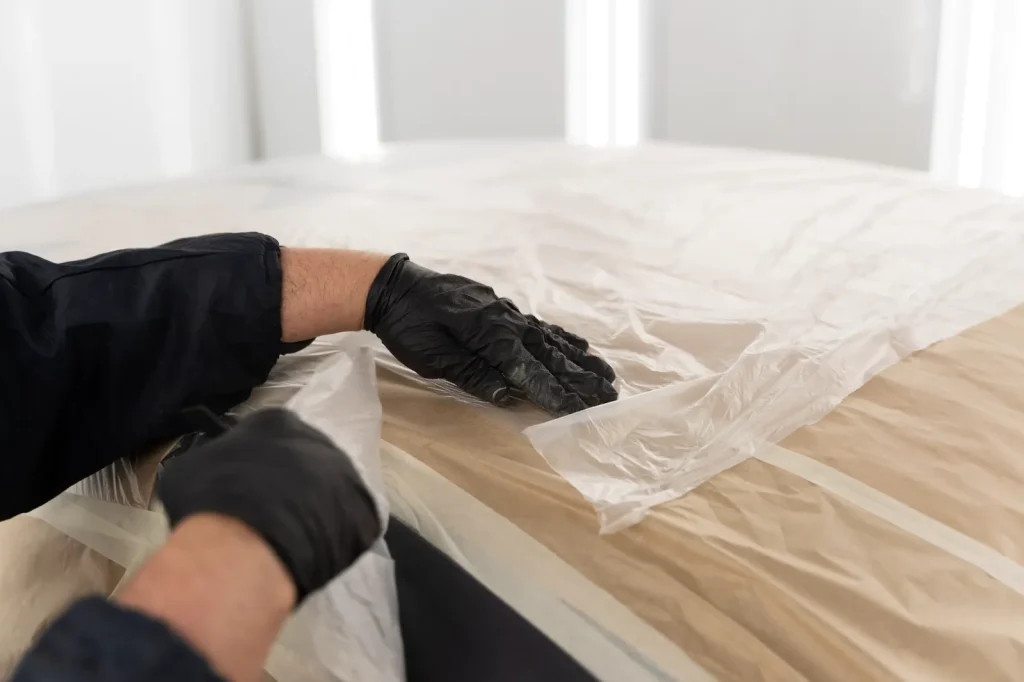
Acrylic pouring is delightfully messy, and preparing the workspace makes the activity smoother and more enjoyable. Before pouring begins, it’s helpful to cover the table or floor with plastic sheeting, old newspapers or a reusable drop cloth. 

This not only protects the surface but also creates a relaxed environment where children and adult beginners can focus on creativity rather than worrying about spills.

Setting up raised supports for the canvas, such as plastic cups or small blocks, allows excess paint to drip freely without sticking to the work surface. 

This ensures clean edges and encourages even drying. It’s also useful to keep paper towels, wet wipes or a small bin nearby so that any drips or sticky hands can be cleaned quickly.

Acrylic Mediums And What They Do

Acrylic Mediums And What They Do

Acrylic mediums play a much larger role in the art world than simply preparing paint for acrylic pouring. While a pouring medium helps thin paint to achieve a smooth, flowing consistency, other mediums offer endless creative possibilities for artists of all ages. 

These versatile additives allow you to adjust texture, change viscosity, increase transparency, enhance durability and even prepare acrylic paint for glow-in-the-dark or fabric-based applications. 

Understanding mediums helps beginners, and especially young artists, discover how adaptable acrylic paint can be beyond fluid art.

For parents introducing art to children or adults exploring acrylic painting for the first time, mediums open the door to experimentation without the need for advanced skills. They support a playful, hands-on approach while teaching important concepts about paint behaviour. 

At Art Pazionate, these mediums are often used in glow-in-the-dark acrylic painting and other mixed media projects, helping students explore effects that traditional pouring techniques cannot offer.

Here are some commonly used acrylic mediums and how they transform paint:

  • Pouring Medium: Thins acrylic paint for smooth pouring without cracking or dulling colour.
  • Gloss or Matte Medium: Adjusts the finish of paint, increases transparency and improves flow for glazing or glow-in-the-dark layering.
  • Gel Mediums (Soft or Heavy): Add thickness and texture, allowing artists to create raised, sculptural designs or layered glow effects.
  • Texture Mediums (Sand, Fibre, Modelling Paste): Introduce tactile surfaces ideal for older children and adults exploring mixed media compositions.
  • Fabric Medium: Converts acrylic paint into fabric-friendly paint that remains flexible after drying, great for wearable art and kid-friendly craft projects.
  • Retarder Medium: Slows drying time so beginners have more time to blend colours or apply detailed glow-in-the-dark accents.
  • Flow Improver: Enhances smoothness and reduces brush marks, useful for fine detailing or building soft gradients.

By learning how each medium behaves, students gain the confidence to experiment creatively and personalise their artwork. 

This is especially valuable for those who enjoy glow-in-the-dark acrylic painting, as mediums help glow pigments disperse evenly and adhere better, resulting in brighter and longer-lasting effects. 

3 Best Acrylic Pouring Techniques For Stunning Fluid Art

3 Best Acrylic Pouring Techniques For Stunning Fluid Art

Acrylic pouring offers a variety of creative methods that beginners can explore, each producing unique patterns and colour interactions. These techniques help young artists and adult beginners understand how paint moves while allowing plenty of room for playful experimentation.

1. Dirty Pour

The dirty pour is one of the most beginner-friendly and visually captivating techniques in acrylic pouring. In this method, several colours are mixed individually with pouring medium, then gently layered into a single cup without stirring. 

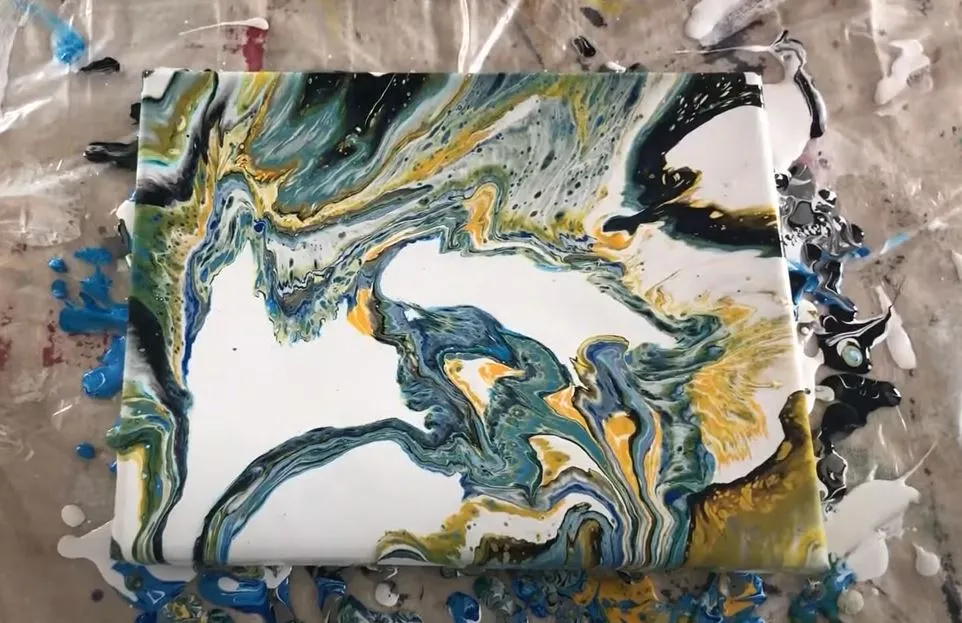
As the colours stack, they form soft transitions and contrasting layers that remain partially separated. When the cup is poured onto the canvas, the paints interact naturally, spreading, blending and creating organic shapes that feel almost marbled.

Children enjoy this technique because the results are always surprising, and adults appreciate how effortless yet expressive it feels. The dirty pour also teaches an important principle: how the order of colours affects the final outcome, which becomes a valuable skill for other acrylic painting approaches.

2. Flip Cup Pour

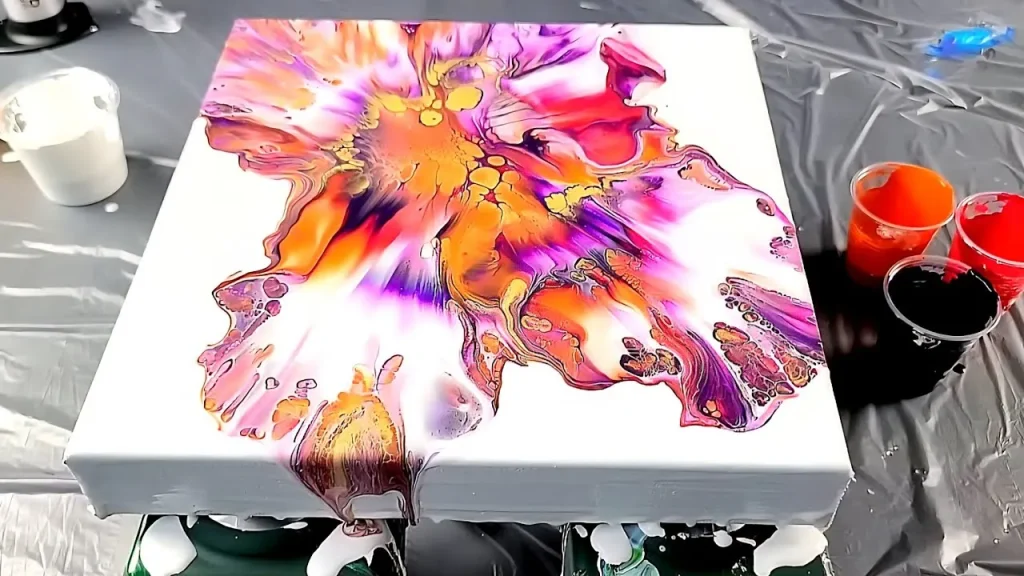
The flip cup pour creates dramatic, bold effects that often spark excitement for first-time artists. Instead of gently pouring the layered cup onto the canvas, the entire cup is placed face-down on the surface and quickly flipped over. 

When the cup is lifted, the trapped paint rushes outward, forming vibrant blooms, bursts and sweeping spreads of colour.

This technique is especially engaging for children, as the reveal moment feels like a colourful eruption across the canvas. 

For adult beginners, it removes the pressure of manual control and allows the paint’s natural flow to take the lead. The flip cup pour also highlights how density differences between colours create distinctive interactions and patterns. 

3. Puddle Pour

The puddle pour is simple, intuitive and ideal for beginners who enjoy a slower, more controlled approach. Each colour is mixed separately, then poured one at a time into the same spot on the canvas, forming a layered puddle. 

As the puddle grows, the colours sink, rise and subtly blend depending on their thickness and weight. Once the canvas is tilted gently, these layered puddles stretch across the surface to create flowing, circular or wave-like patterns.

The puddle pour is a wonderful introduction to understanding colour density and how different paints behave when stacked. Children often enjoy watching each new colour expand the puddle, while adult learners appreciate the calm, meditative rhythm of the process.

Step-by-Step Acrylic Pouring Tutorial for Beginners

Step-by-Step Acrylic Pouring Tutorial for Beginners

This simple, beginner-friendly guide walks you through the entire acrylic pouring process, from setting up your space to pouring the paint and finishing the artwork. The steps are easy for adult beginners to follow and enjoyable for children when supervised.

Step 1: Prepare Your Workspace

A smooth and stress-free pouring experience starts with a well-prepared workspace. 

  • Begin by covering your table or floor with plastic sheeting, newspapers or a reusable drop cloth. Acrylic pouring can get messy, and a protected area allows both children and adults to relax and enjoy the creative flow. 
  • Place small supports, like plastic cups, blocks or tins, under your canvas so excess paint can drip off cleanly, preventing the artwork from sticking to the surface beneath. It is also helpful to check that your canvas sits level; a slight tilt can cause colours to drift unintentionally. 
  • Keep paper towels, wet wipes and a small bin close by, especially if children are involved, as quick clean-ups keep the process calm and enjoyable. This thoughtful setup helps create a safe, encouraging space that supports exploration and creativity.

Step 2: Mix The Paints

Step 2 Mix The Paints

Mixing the paints is an exciting part of acrylic pouring, as it introduces beginners to how acrylics transform when combined with mediums. 

  • Start by placing each colour in a separate cup. 
  • Add your pouring medium, usually one to three parts medium for each part of paint, depending on the thickness of the acrylic. 
  • Stir gently but thoroughly using a stir stick, taking care not to whip air into the mixture. 
  • If the paint still feels too thick, add a few drops of water at a time until the mixture flows smoothly from the stir stick in a consistent ribbon. The perfect consistency should feel similar to warm honey or single cream, fluid enough to spread easily but still rich in colour.

Step 3: Combine Colours, The “Dirty Cup” Or “Flip-Cup” Setup

Once your colours are mixed, the next step is combining them in a cup for pouring. 

  • For a dirty cup, simply choose an empty cup and begin layering your colours one at a time. 
  • Pour each colour slowly down the inside of the cup or gently into the centre, allowing the layers to build without mixing. The order of colours matters, lighter paints tend to rise while heavier ones sink, so experimenting with different combinations can create beautiful surprises.
  • If you plan to do a flip cup pour, fill the cup in the same way, then place the canvas on top of the cup, hold both firmly and flip them together. 
  • When the cup is lifted, a burst of colour spreads across the surface, creating lively, spontaneous patterns.

Step 4: Pour Onto The Canvas

Step 4 Pour Onto The Canvas

With your cup prepared, the most exciting moment begins, the pour. 

  • Gently lift the cup and allow the paint to flow onto the centre of the canvas or in any pattern you prefer. The paint will naturally begin to spread, creating soft blends and unexpected interactions between colours. 
  • Once the initial puddle is formed, slowly tilt the canvas in different directions, guiding the paint toward each edge. 
  • Tilting helps the colours stretch and merge, producing fluid shapes that feel organic and expressive.

Step 5: Optional, Add Effects Or Refine

After the paint has settled, you can choose to enhance the artwork with simple techniques that add depth and visual interest. 

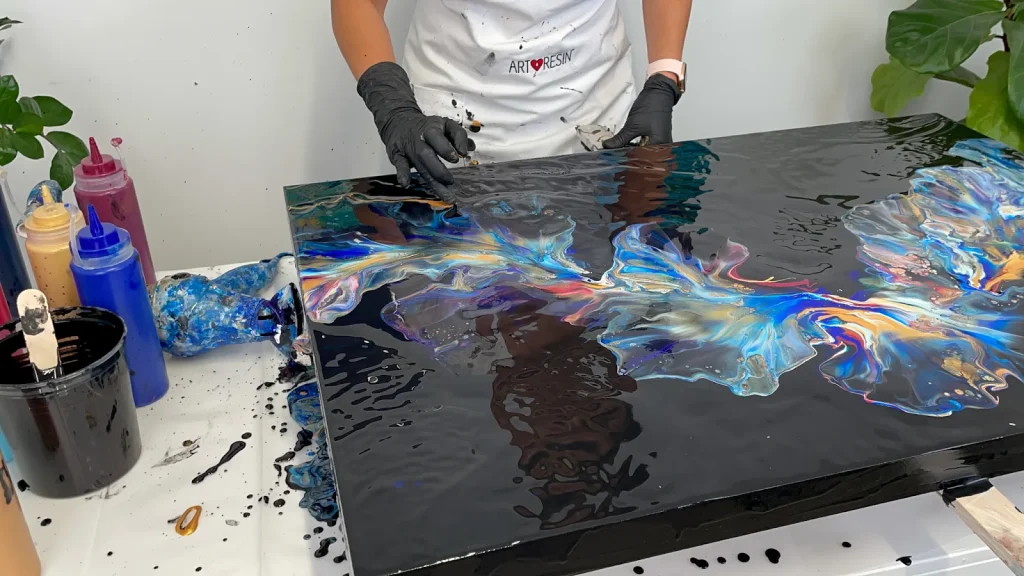
One popular effect is creating cells, small, bubble-like patterns that form when paints of different densities interact. This can be achieved by adding a tiny drop of silicone oil to some colours before pouring or gently heating the surface with a craft torch (adults only).

Another option is the swipe technique, where a palette knife, piece of plastic or even a damp paper towel is lightly dragged across the surface. 

This motion stretches the colours and introduces waves, lacing or soft gradient effects. Older children and adults often enjoy experimenting with tools like straws, skewers or air blowers to create movement without touching the canvas directly.

Step 6: Let It Dry (And Finish)

Step 6 Let It Dry (And Finish)

Once the artwork looks complete, place the canvas on a flat, dust-free surface to dry. Acrylic pouring pieces generally take 24 to 48 hours to dry fully, though thicker layers may require a little longer. 

It is important not to move or touch the artwork during this stage, as even small vibrations can shift patterns or create uneven areas.

After the piece is completely dry, many artists choose to seal it with a varnish or clear coat. A gloss varnish enhances colour vibrancy and adds a smooth, glass-like finish, while a matte varnish offers a softer look. Sealing protects the artwork from dust, scratches and fading, especially if it will be displayed.

Conclusion About Acrylic Paint Pouring

Acrylic pouring is a captivating way to explore colour, movement and fluid expression, especially for beginners drawn to playful, low-pressure techniques. While acrylic pouring art is enjoyable to learn about, it’s only one part of what acrylic paint can do. 

Many artists also experiment with acrylic mediums to adjust viscosity, enhance texture or create glow-in-the-dark effects, an approach we focus on.

At Art Pazionate, creativity is nurtured through a supportive environment where both children and adults are encouraged to express themselves freely rather than follow templates. Our weekly kids’ classes help young artists aged 4 to 12 build strong foundations while exploring diverse mediums, theories and techniques. 

For children seeking one-off experiences, our ad-hoc workshops and holiday art camps run throughout the year, offering fun and enriching creative sessions. 

Teens and adults are welcomed into our weekly classes, especially with our acrylic painting lessons, regardless of prior experience, receiving close guidance from our pazionate instructors to achieve their artistic goals. 

We also offer mindfulness art workshops for those wishing to slow down and reconnect with the present moment, as well as corporate art workshops designed to strengthen teamwork and refresh the mind. 

With small class sizes, thoughtful discussions, and an emphasis on bold expression, we guide each student to develop creativity, confidence and strong artistic skills while honouring their individual voice.

To begin your art journey or book a trial class, contact Art Pazionate via WhatsApp or our contact form.

Frequently Asked Questions About Acrylic Pain Pouring

Does Acrylic Pouring Require A Specific Type Of Acrylic Paint?

Acrylic pouring works best with fluid or easily thinned paints, but most standard acrylics can be used with the right pouring medium.

Is Acrylic Pouring Art Suitable For People With No Artistic Background?

Absolutely. Acrylic pouring art is highly accessible and allows complete beginners to create expressive pieces without technical drawing skills.

Can Acrylic Pouring Be Done Outdoors?

Yes, acrylic pouring can be done outdoors, but avoid windy, dusty or extremely humid conditions, which may affect drying and paint flow.

Should Beginners Start With Simple Acrylic Pouring Techniques First?

Yes, starting with basic pours like the dirty pour or puddle pour helps beginners understand paint flow before trying advanced methods.

Can Acrylic Pouring Be Combined With Other Art Styles?

Yes, many artists blend acrylic pouring with brushwork, line art, texture mediums or glow-in-the-dark acrylic techniques for unique mixed-media effects.

What Is The Difference Between Acrylic And Oil Painting

What Is The Difference Between Acrylic And Oil Painting?

Choosing between acrylic and oil painting can feel confusing, especially for beginners, parents with creative children, or anyone exploring art for the first time. 

These two popular mediums are often compared because they offer very different experiences, one dries quickly and is wonderfully versatile, while the other allows slow, detailed blending. Understanding acrylic vs oil painting helps you decide which suits your project, pace, and artistic goals. 

If you’re trying something new with your child or starting your own creative journey, this guide explains clearly how oil painting is different from acrylic so you can choose the medium that feels right for you.

What Is Acrylic Painting?

What Is Acrylic Painting

Acrylic painting uses water-based paint made from pigment suspended in an acrylic polymer emulsion, giving it a smooth, easy-to-use consistency that appeals to both beginners and experienced artists. 

It dries quickly, allowing children and adults to complete artworks within shorter sessions, which makes it especially practical for classes, workshops, and family-friendly creative activities. 

One of acrylic’s biggest strengths is its flexibility, artists can adjust the paint using different acrylic mediums to change thickness, transparency, texture, and even transform it into fabric paint.

Acrylic paints can be used on many surfaces including canvas, paper, wood, and craft materials, making them ideal for curious young learners exploring different textures and adults experimenting with new creative ideas.

What Is Oil Painting?

What Is Oil Painting

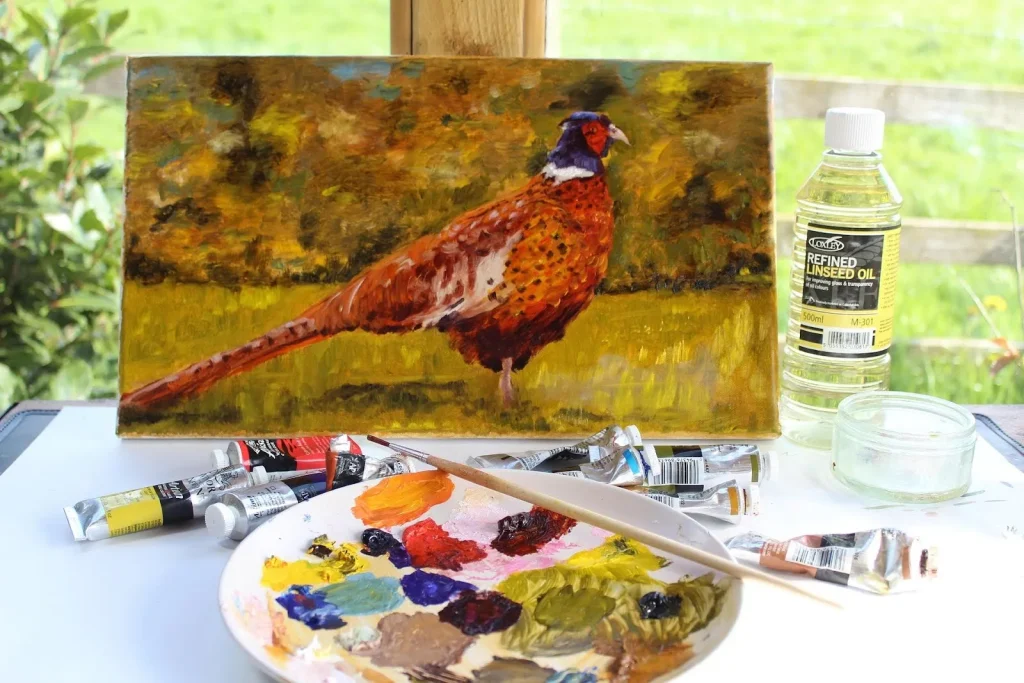
Oil painting is created using pigments mixed with a natural drying oil, such as linseed or walnut oil, giving the paint a rich, buttery texture that has been valued by artists for centuries. 

Its slow drying nature makes it perfect for smooth blending, soft gradients, and fine details, providing beginners and growing artists with more time to adjust colours and refine shapes. This quality supports thoughtful, patient exploration, something many adult beginners find calming and deeply rewarding.

Oil paint is often associated with classical art because it allows techniques like glazing, subtle shading, and realistic rendering that bring portraits, landscapes, and still-life subjects to life. The depth and luminosity created by oils have made them a favourite choice for traditional fine art. 

For parents and young learners, oil painting may be introduced at a later stage due to its use of specific tools and solvents, but it remains a beautiful medium for those looking to develop long-term artistic skills.

How Is Oil Painting Different From Acrylic? 8 Differences Between Acrylic And Oil Painting

How Is Oil Painting Different From Acrylic 8 Differences Between Acrylic And Oil Painting

Oil and acrylic paints may look similar on the palette, but they behave very differently once you begin using them. 

The following eight comparisons will guide you through the features that shape each medium, helping parents, young learners, and adult beginners understand which option best supports the techniques, pace, and creative style they enjoy most.

1. Composition & Binder (Base Medium)

Oil paint is made by mixing pigment with natural drying oils such as linseed or walnut oil, giving it a smooth, buttery consistency that many artists appreciate. 

Acrylic paint, on the other hand, uses pigment suspended in an acrylic polymer emulsion, creating a water-based medium that is easy to handle and simple to clean. This difference in composition affects how each paint adheres to surfaces and how it feels as you apply it.

Acrylic’s polymer base also makes it incredibly versatile, as it can be combined with a range of acrylic mediums to alter texture, sheen, thickness, or even turn it into fabric-safe paint. 

This adaptability also allows for special effects such as glow-in-the-dark acrylic painting, which Art Pazionate offers in their Holiday Camp as well as Art Jam sessions. Oils are more traditional in structure and do not mix as readily with the wide range of additives available for acrylics.

2. Drying Time & Working Time

2. Drying Time & Working Time

Oil paint dries very slowly, giving artists extended time for blending, smoothing transitions, and adjusting details across multiple sessions. This slow pace is helpful for adult beginners who enjoy a calm, reflective process and want more control while learning. 

Acrylic paint dries much faster, which helps children and new artists complete their artwork within a shorter timeframe, ideal for classes and workshop settings.

Because acrylic paints dry quickly, artists may need to work at a steadier pace or use mediums that extend drying time to allow for smoother blending. The faster drying process also supports quick layering, making it easier for kids and beginners to build colours confidently. 

Understanding these differences helps each student choose the workflow that feels most comfortable and enjoyable for them.

3. Blending, Layering & Texture Control

Oil paints are well-loved for their ability to blend smoothly and gradually because they remain wet for long periods. This slow drying time allows artists to create soft gradients, refined shadows, and delicate transitions, an advantage for learners who enjoy detailed, patient painting. 

Acrylics, although fast-drying, still offer excellent texture control and can be used for techniques like impasto, glazing, or mixed media.

With the help of acrylic mediums, artists can thicken the paint, extend its open time, or improve flow for more refined layering. Oil paints cannot integrate these creative enhancements as effortlessly, making acrylics a fun and versatile choice for young learners and beginners who enjoy experimenting with effects and textures.

4. Surface Versatility & Medium Flexibility

4. Surface Versatility & Medium Flexibility

Acrylics are incredibly adaptable and can be used on a wide range of surfaces including canvas, paper, wood, fabric, and many craft materials. 

Their water-based nature allows them to pair beautifully with different acrylic mediums that change viscosity, transparency, finish, or even turn them into fabric paint. This flexibility makes acrylics especially suitable for curious children and adults who enjoy trying new textures or mixed-media projects.

Because acrylics accept special additives, the medium is ideal for glow-in-the-dark enhancements. Although some artists use acrylic paints for pouring techniques, the studio does not do so. 

Instead, the focus is on acrylic’s strengths in brushwork, texture creation, and the use of mediums that allow students to build dimension, explore unique surfaces, and develop artworks that truly express their ideas.

5. Cleanup, Safety & Studio Requirements

Acrylic paints are easy to clean up using just soap and water, making them convenient for busy parents, young children, and beginners who want a fuss-free art experience. 

Oil paints, however, require solvents such as mineral spirits or turpentine, which means additional tools, proper ventilation, and more attention to safety. This distinction alone makes acrylic painting a popular choice in family-friendly art studios and classrooms, where quick tidying and minimal odour are important.

The low-odour and water-based nature of acrylic paints also makes them suitable for indoor use, even in smaller spaces. 

Oils produce stronger smells and may need well-ventilated areas, which might not always be practical for home environments or children’s activities. For these reasons, acrylic painting is often the most accessible option for those starting their creative journey.

6. Final Look, Finish & Durability Over Time

6. Final Look, Finish & Durability Over Time

Oil paintings are known for their luxurious appearance, with deep colour saturation and a naturally glossy, luminous finish that has defined classical art for centuries. 

Acrylic paints dry more quickly and can appear matte or glossy depending on the medium added, yet they maintain bright colours that resist yellowing over time. This stability makes acrylics very appealing for children and beginners who enjoy creating vivid, long-lasting artworks.

Once it’s dried, acrylic paint becomes flexible, allowing it to resist cracking even when it’s used on different surfaces or moved frequently. 

Oils can develop cracks over the years if applied too thickly or the layers are not allowed proper drying time. These differences help artists decide the type of visual effect and long-term durability they want for their project.

7. Cost, Accessibility & Learning Curve

Acrylic paints are generally more affordable than oils, making them a practical starting point for beginners, families, and young children exploring art for the first time. 

They require minimal materials and clean up easily, which lowers the overall cost and keeps the learning process simple and enjoyable. Oil painting, on the other hand, often involves additional expenses such as specialised brushes, artist-grade solvents, and traditional mediums that support blending and glazing.

Beyond cost, acrylics also offer a more accessible learning curve due to their fast drying time and versatile nature. Oils demand more patience and careful technique, as the slow drying process requires thoughtful layering and proper handling of materials. 

For many new artists, acrylics provide a straightforward, friendly introduction to painting before advancing to the more complex world of oils.

8. Suitability To Project Type, Style, And Artistic Intent

8. Suitability To Project Type, Style, And Artistic Intent

Oil paint shines in artworks that rely on depth, smooth transitions, and detailed realism, making it a favourite for portraits, landscapes, and classical fine art pieces. 

Acrylic paints, with their bright colours and quick drying time, are ideal for bold, modern styles, mixed media projects, and artworks that require fast layering or strong graphic effects. They also pair beautifully with special additions such as glow-in-the-dark pigments, an exciting feature offered at Art Pazionate.

Because acrylics can be modified with a range of mediums, they work well for expressive or experimental pieces, as well as creative activities for children who enjoy trying different textures and techniques. 

Oil paints remain the better choice for artists aiming for refined, traditional results, while acrylic paints support vibrant, imaginative works with more freedom. This makes it easier for kids and adults to decide which medium aligns with their artistic personality and goals

Which Medium Is Better For Beginners: Oil Or Acrylic?

Which Medium Is Better For Beginners Oil Or Acrylic

Choosing the right medium often depends on how you like to learn, the time you have available, and the environment you’re painting in. 

Acrylics are usually the most beginner-friendly option because they are affordable, dry quickly, and can be cleaned up with just water, ideal for parents working with young children and adults who want an easy, approachable start. 

Their versatility also allows beginners to explore different textures, finishes, and special effects, including glow-in-the-dark pigments, without needing complicated tools.

Oil painting is still a wonderful choice for those who enjoy a slower pace and want more time to blend colours gently or create soft, classical effects. It simply requires a bit more patience and additional materials like solvents and dedicated brushes. 

Both mediums offer meaningful learning experiences, so beginners can choose the one that best aligns with their creative style and comfort level.

Conclusion About Acrylic Painting Vs. Oil Painting

Understanding the main differences in acrylic vs oil painting helps you choose the medium that truly supports your creative goals. Oils offer slow, refined blending, while acrylics provide fast drying, bright colours, and flexible effects. 

When considering how oil painting is different from acrylic, it simply comes down to how each medium behaves and the style of artwork you want to create.

At Art Pazionate, we go beyond teaching techniques, we create a nurturing space where children, teens, and adults can explore and grow their artistic potential. Instead of copying templates, our students are encouraged to think creatively, express freely, and infuse their own ideas into every artwork. 

Our small class sizes allow us to understand each student deeply, guiding them patiently through complex ideas, helping them organise their thoughts, and strengthening both skill and confidence.

We offer a wide range of thoughtfully designed programmes, including weekly kids, teens, and adults art classes; mindfulness art sessions; ad-hoc workshops; school holiday camps; and corporate bonding workshops. 

Our pazionate instructors provide close guidance, ensuring every learner, whether a young child or a complete beginner, feels supported, inspired, and steadily equipped with artistic skills. 

While we don’t offer acrylic pouring, our acrylic painting lessons include creative options such as glow-in-the-dark painting and the use of various acrylic mediums to explore texture, opacity, and effects.

Contact us via WhatsApp or our contact form to begin your art journey. Children may also enjoy a free trial class when signing up for an 8- or 16-lesson package on the same day.

Frequently Asked Questions About Acrylic Painting Vs. Oil Painting

Does Acrylic Vs Oil Painting Make A Difference In How Quickly Children Can Complete An Artwork?

Yes, acrylic vs oil painting makes a significant difference in how fast children finish their projects. Acrylic paint dries quickly, allowing kids to layer colours, add details, and complete their artwork within a single class. Oil paint dries slowly, so children may need multiple sessions to finish even a small piece.

Should Beginners Compare Acrylic Vs Oil Painting Based On Drying Time Alone?

Drying time is important, but it shouldn’t be the only factor beginners consider. Acrylics are quick and convenient, while oils offer more time for gentle blending and detailed work. It’s better to choose a medium based on learning goals, comfort level, and the type of artwork you want to create.

Is Acrylic Vs Oil Painting Better For Children, School Projects, Or Family-Friendly Art Activities?

Acrylic paint is generally more suitable for children and family-friendly projects because it is water-based, easy to clean, and dries fast. It also works well on many surfaces, making it great for school activities and creative play. Oil paint is better kept for older learners or adults due to its slow drying time and use of solvents.

Which Medium Is More Affordable When Comparing Acrylic Vs Oil Painting For Long-Term Practice?

Acrylic paint is usually more affordable, making it ideal for long-term practice, especially for beginners and children. It requires fewer specialised tools and can be cleaned with just water. Oil painting tends to be more expensive due to the cost of paints, solvents, and dedicated brushes and surfaces.