
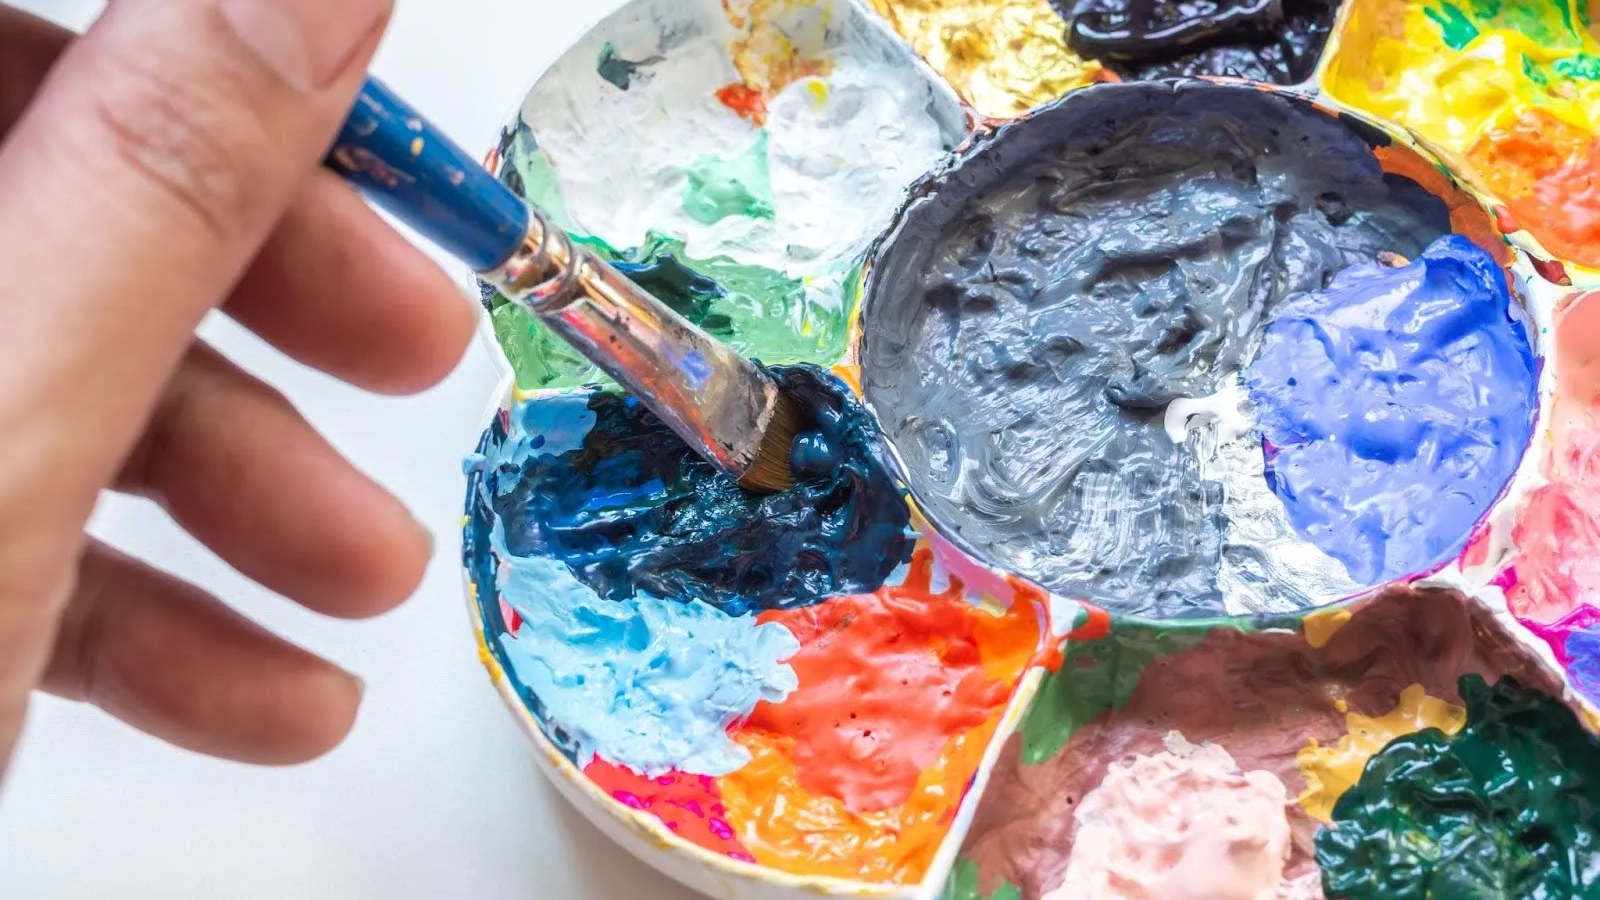
Staring at a blank canvas with a brush in your hand can feel exciting… and a little intimidating. You’ve got the paint, but how do you make it do what you want?
The secret isn’t in buying the most expensive gear; it’s in understanding a few foundational paintbrush techniques for beginners. Learning how to hold your brush and understanding its capabilities is the first real step to unlocking your creativity.
This guide will walk you through those first essential strokes, helping you go from nervous beginner to confident artist.
What Brushes Do I Even Need?
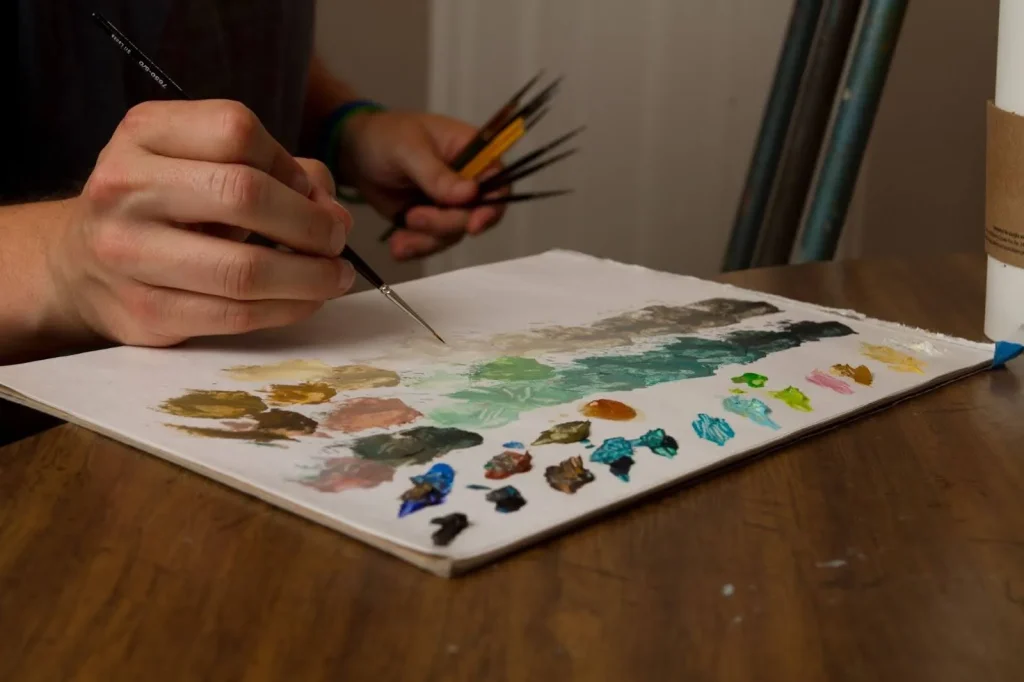
Before we get into the how, let’s quickly look at the what. You don’t need 50 brushes to start. You just need a few good, reliable ones. For most beginner acrylic or oil painting, the three types will cover almost everything you want to do.
Here is a simple breakdown of the “starter set”:
|
Brush Type |
What It Looks Like |
Best For… |
|
Flat Brush |
Wide and flat with a straight edge. |
Broad strokes, filling in large areas, and painting sharp, straight edges like buildings or horizons. |
|
Round Brush |
Has a round base and a pointed tip. |
Details! Use the very tip for fine lines (like branches) and press down a little for thicker, bolder strokes. |
|
Filbert Brush |
A flat brush with a rounded, oval top. |
This is a great all-rounder. It’s perfect for blending and creating soft, rounded edges, like flower petals or clouds. |
How to Hold Your Paintbrush (It Matters!)
How you hold your brush can completely change your painting style. There is no single “correct” way, but here are two main approaches.
For tight control and painting small details, hold the brush handle close to the bristles, just like you would hold a pencil or pen. This utilises the small muscles in your fingers and wrist, allowing for high precision.
For more expressive, loose, and flowing strokes, hold the brush further back, towards the end of the handle. This engages your entire arm and shoulder, making your marks more gestural and confident.
Essential Paint Brush Techniques to Try Today
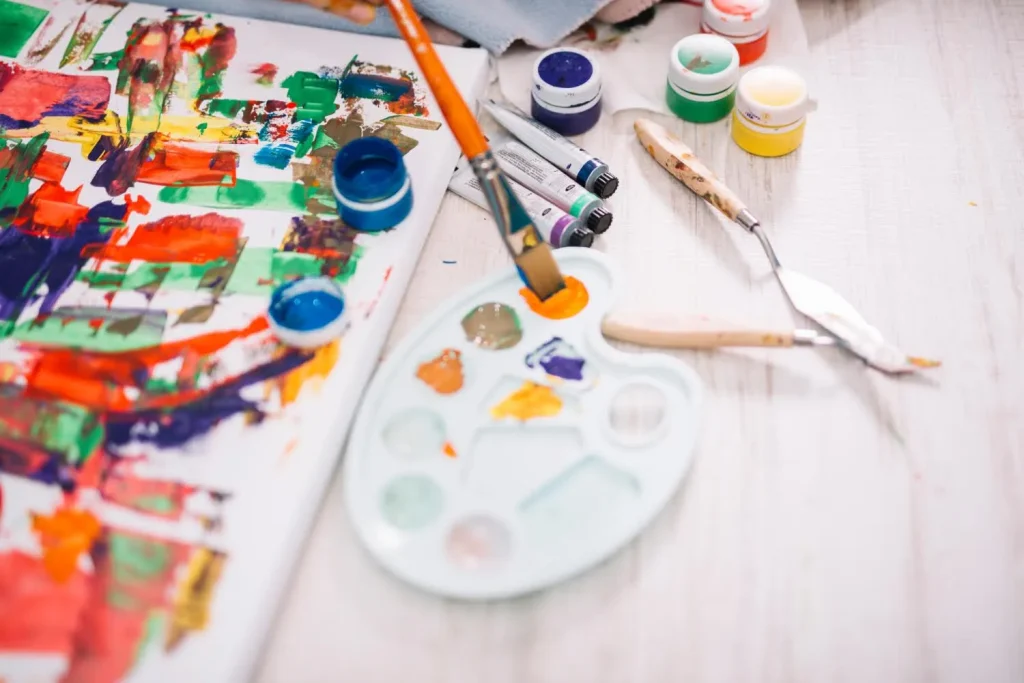
Now for the fun part. These paintbrush techniques are the building blocks for almost any painting.
1. Dry Brushing
- What it is: A simple way to create amazing texture. You use a brush that is mostly dry, with only a very small amount of thick paint on it.
- How to do it: Dip your brush (a flat brush is ideal for this) into a small amount of paint, then wipe most of it off on a paper towel. Now, drag the brush lightly across your canvas.
- The result: You’ll get a broken, scratchy stroke that lets the colour underneath show through. It’s perfect for painting things like wood grain, distant grass, or wispy clouds.
2. Stippling
- What it is: Building up colour and texture using lots of tiny dots.
- How to do it: Use the tip of a stiff or round brush and, instead of stroking, just “pounce” or “dab” the brush up and down on your canvas.
- The result: This creates a lovely, speckled texture. It’s an excellent way to paint bushes on a tree, sand on a beach, or a field of flowers.
3. Scumbling
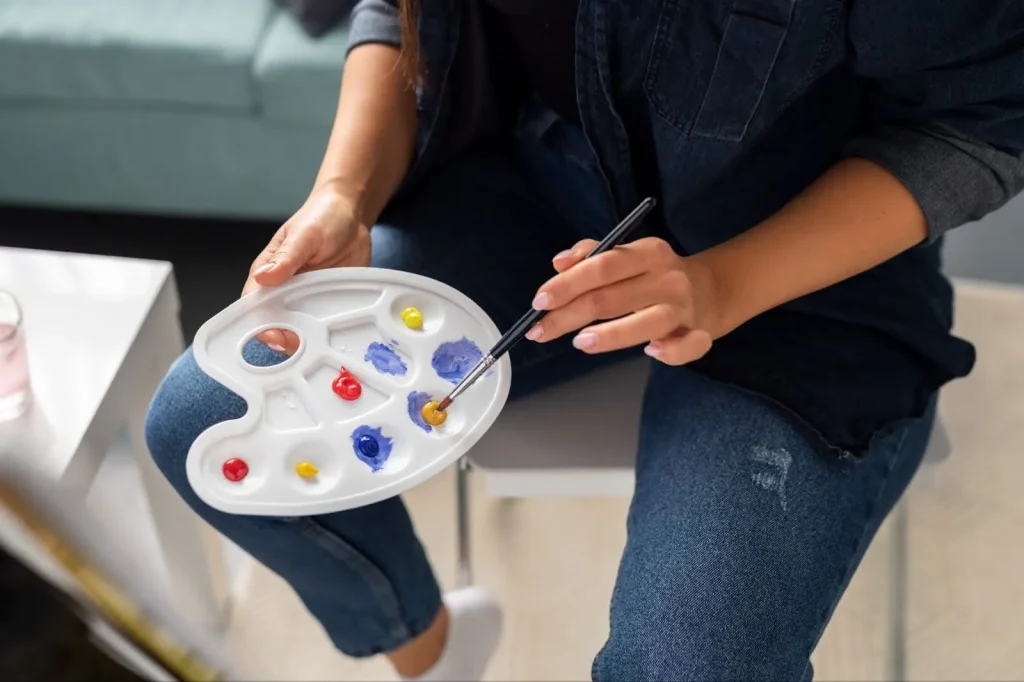
- What it is: A technique for creating a soft, hazy layer of colour.
- How to do it: Use a stiff, dry brush with a tiny bit of opaque (non-see-through) paint. Apply the paint in a circular, “scrubbing” motion over another dry colour.
- The result: This lets the bottom colour peek through. It’s a fantastic way to create soft light, mist, or add a subtle glow to an object.
4. Wet-on-Wet
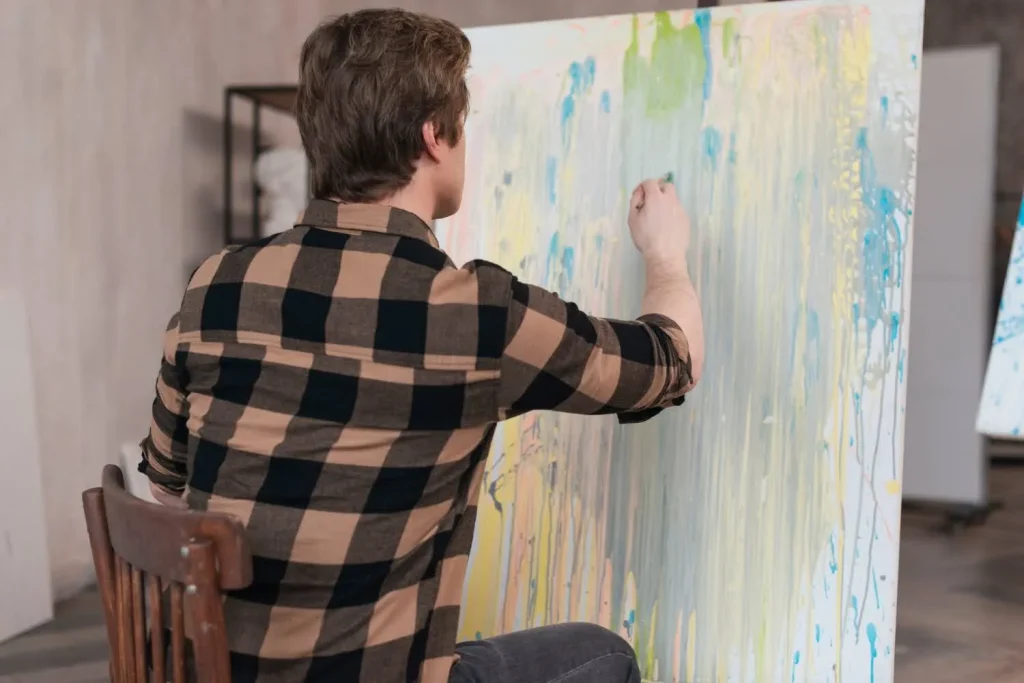
- What it is: This technique is exactly what it sounds like: applying wet paint onto a layer of paint that is also still wet.
- How to do it: Put down a layer of colour, and before it dries, add another colour right next to or on top of it.
- The result: The colours will bleed into each other, creating soft, beautiful blends. This is the secret to those lovely smooth gradients you see in skies and sunsets.
5. Blocking In
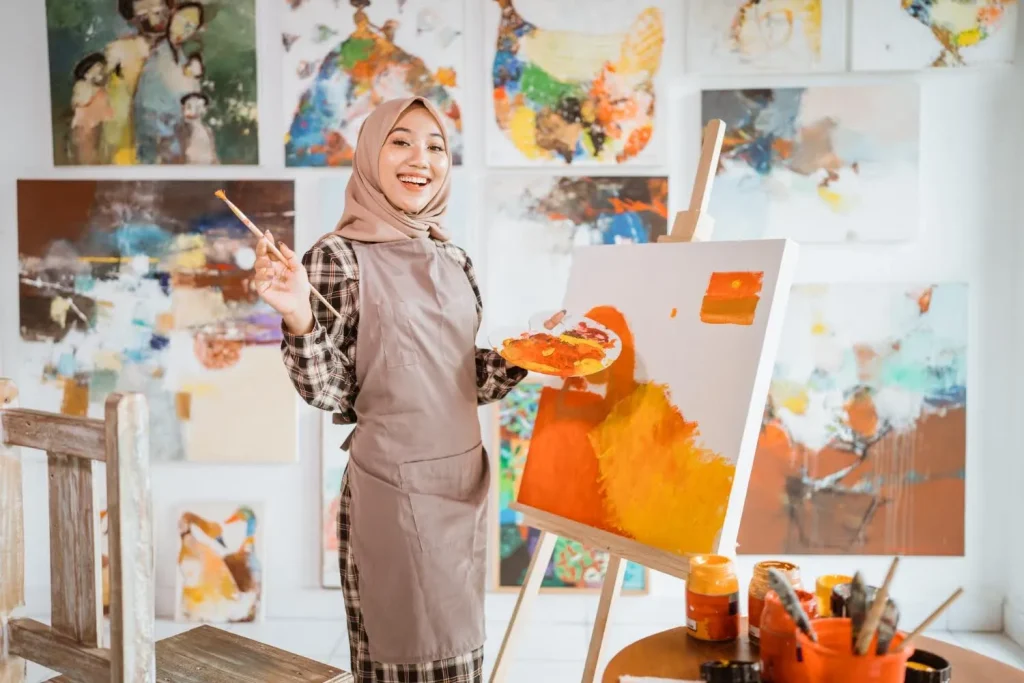
- What it is: This is less a “technique” and more the first stage of a painting. It’s about building the foundation.
- How to do it: Use a flat brush to “block in” the main, simple shapes of your painting with colour. Don’t worry about any details, just focus on the big areas of light and dark.
- The result: It gives you a “map” for your painting. It’s much easier to add details later once all your main shapes are in place.
A Quick Note: How to Care for Your Brushes
Good brushes are an investment, so you want to look after them! The most important rule is to never let paint dry on them.
For acrylics, wash your brushes with soap and lukewarm water immediately after you’re done. For oil paints, you’ll need to clean them with a solvent (like turpentine) first, then wash them with soap and water.
Always reshape the wet bristles with your fingers so they dry in their original shape, and let them dry flat, not standing up in a jar.
Conclusion About Paintbrush Techniques for Beginners
The most important of all paint brush techniques is just to be brave and try. There is no right or wrong way—only your way. Every stroke you make teaches you something new.
So, grab your brush, be bold, and just have fun with it. You might be surprised at what you can create. Find your unique artistic style with us at Art Pazionate.
Ready to put these techniques into practice? Art Pazionate offers a range of art classes for all ages, designed to help you explore these techniques in a fun and supportive space.
Contact us today to join a class!
Frequently Asked Questions About Paintbrush Techniques for Beginners
What Is The Easiest Painting Technique For A Beginner?
“Blocking in” is a great first step. It helps you get used to the paint and brush without the pressure of details. For a specific effect, “dry brushing” is also very easy and gives you a wonderful, textured result with very little effort.
How Do You Achieve Smooth Strokes With a Paintbrush?
There are two keys. First, ensure your brush is loaded with sufficient paint. Second, use a confident, consistent motion. For very smooth blends, the “wet-on-wet” technique is best, as it allows two colours to mix seamlessly on the canvas.
What Is The Difference Between A Flat And A Round Brush?
A flat brush features a wide, square tip, ideal for creating broad strokes and sharp, straight lines. A round brush has a round base that tapers to a fine point, making it ideal for painting details and varied lines.
Why Is My Paint Not Sticking To The Canvas?
This can occur for several reasons. Your canvas might not be primed appropriately (most store-bought canvases are, but some are not). More commonly, you might be trying to paint a new layer over a previous layer that is still wet and “slippery.”