
Acrylic pouring has quickly become a popular creative trend, loved by both children and adults for its vibrant colours and mesmerising flow.
Unlike traditional painting, acrylic pouring art involves letting thinned acrylic paint glide across a surface to form beautiful, organic patterns with little need for technical skill.
This beginner-friendly guide introduces you to how acrylic pouring works, what makes it so appealing, and the basic supplies used in fluid art.
What Is Acrylic Pouring?
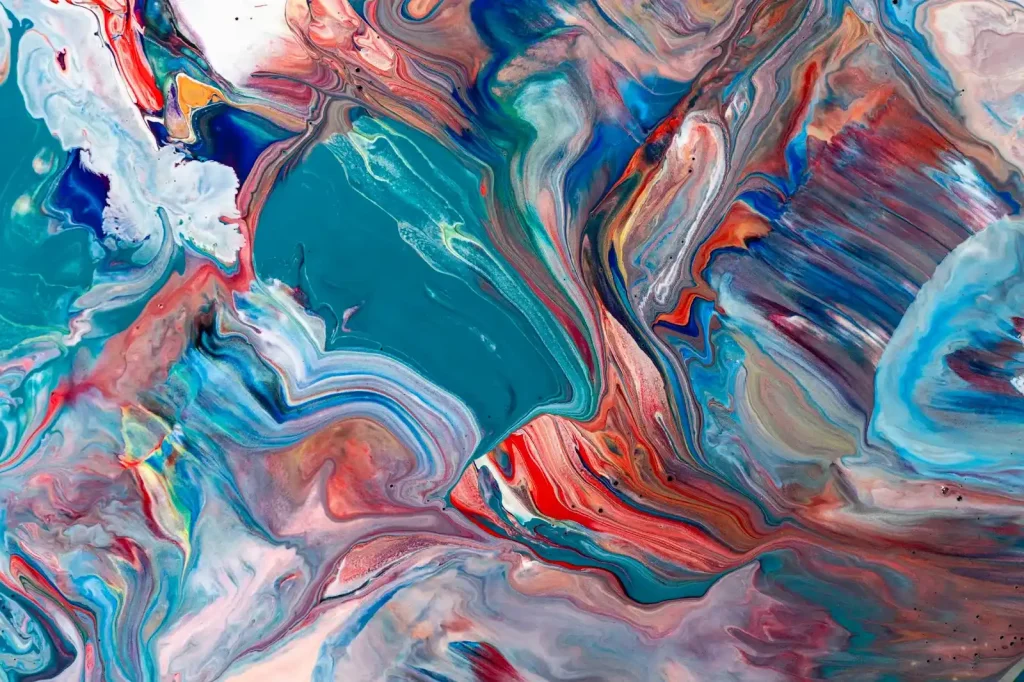
Acrylic pouring is a fluid art technique that involves mixing acrylic paint with a pouring medium to create a smooth, flowing consistency that can be poured directly onto a surface.
Instead of using brushes or fine motor skills, the paint naturally spreads, blends and interacts on its own, forming mesmerising marbled patterns, soft gradients and organic shapes.
This makes acrylic pouring incredibly appealing to beginners and young artists, as the process feels playful, intuitive and full of surprises.
In acrylic pouring, colour becomes the main storyteller. Once the paint is poured, gravity and movement guide the flow, allowing unique patterns to emerge without the pressure of drawing or precision.
The beauty of the technique lies in its unpredictability, every artwork turns out different, even when using the same colours or steps. Children enjoy watching colours mix and swirl, while adults appreciate the calming, meditative aspect of the process.
Essential Supplies You Need For Acrylic Pouring
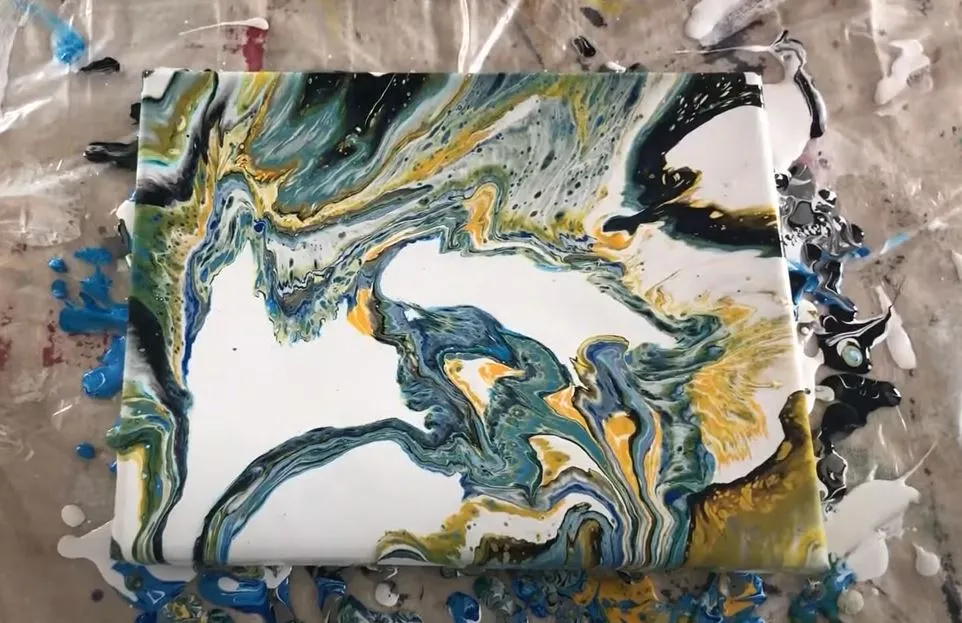
Getting started with acrylic pouring is easier than many people expect, and having the right materials helps beginners enjoy the process with confidence. Below are the core supplies typically used in acrylic pouring and why they matter.
Fluid Acrylic Paints (Or Acrylic Paints That Can Be Thinned)
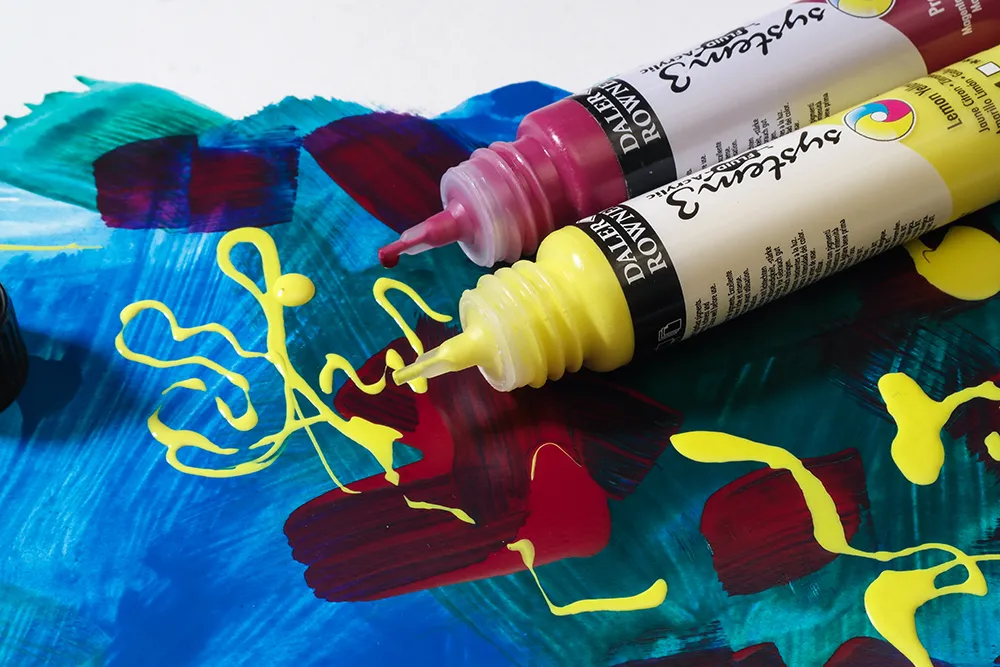
Acrylic pouring relies on paint that can move freely across a surface, so consistency is key. Fluid acrylic paints are ideal because they naturally have a thinner texture compared to heavy-body acrylics, making them easier to pour and blend without much modification.
Their smooth, liquid consistency helps colours spread evenly, interact beautifully and form the signature marbled or abstract patterns that acrylic pouring is known for.
For beginners working at home, regular acrylic paints also work well as long as they are thinned to the right flow. Artists often mix heavier paints with a pouring medium to achieve a texture similar to warm honey or single cream, fluid enough to glide but still rich in colour.
Teaching children or adult beginners how to recognise the right consistency encourages a hands-on understanding of how paint behaves. It also supports later skills, such as mixing paints for different effects, preparing colours for fabric-friendly projects or working with acrylic mediums to change texture and opacity.
Acrylic Pouring Medium
A pouring medium is one of the most important ingredients in acrylic pouring because it transforms ordinary acrylic paint into a smooth, pourable consistency without weakening the colour.
While adding water alone can thin paint, too much of it breaks down the binder inside acrylics, leading to cracking, uneven drying or dull patches. A pouring medium avoids these issues by thinning the paint while preserving its strength, vibrancy and flexibility.
When mixed with acrylic paint, the medium enhances the paint’s ability to flow effortlessly across the surface, helping colours blend softly or separate cleanly depending on the technique used.
It also helps prevent common pouring issues such as cracking, crazing or clumping as the artwork dries. For fluid art enthusiasts, this reliability makes the medium essential for achieving smooth results.
Learning about pouring mediums is also valuable for those more interested in glow-in-the-dark acrylic painting or other creative approaches. Mediums can be used to:
- adjust viscosity for finer or more controlled brushwork,
- create a silkier texture for blending glow pigments,
- increase transparency or gloss,
- or mix acrylics into fabric-friendly paint for clothing and textile art.
Canvas Or Other Substrate / Surface
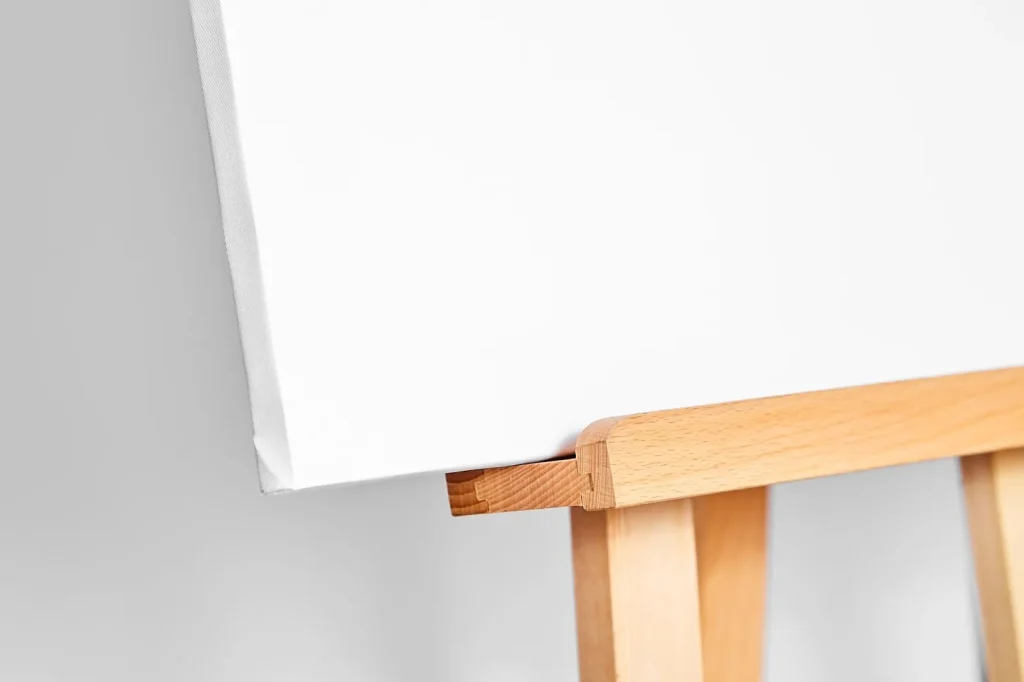
Acrylic pouring can be done on a variety of surfaces, giving beginners plenty of freedom to explore different textures and finishes.
Canvas is the most popular option because it is lightweight, easy to handle and typically pre-primed, allowing poured paint to glide smoothly across the surface. Stretched canvases are especially beginner-friendly for parents working with children, as they are less prone to warping and dry evenly.
Aside from canvas, wood panels are a sturdy alternative that hold their shape well and provide excellent support for thicker pours or layered designs. Their solid backing prevents sagging, which helps maintain the crispness of marbled patterns.
Ceramic tiles, coaster blanks and other small decorative surfaces are also commonly used, particularly for kids or anyone testing colours and techniques on a smaller scale. These smooth surfaces make the paint spread beautifully and are perfect for experimenting before moving on to larger projects.
Mixing Containers And Stir Sticks
Proper mixing is essential in acrylic pouring, as the paint and medium must blend evenly to achieve the right flow. Plastic cups, reusable containers or paper mixing cups are commonly used for measuring and preparing each colour.
Clear containers are especially helpful for beginners because they allow you to see the consistency from the sides and check for unmixed streaks of paint.
Stir sticks, such as wooden craft sticks or palette knives, help ensure all components are thoroughly combined.
Mixing slowly but steadily prevents air bubbles, which can cause tiny craters or pinholes in the final artwork. For kids, stirring becomes a simple and engaging part of the process, they get to observe how colours transform from thick paint to silky, pourable mixtures.
Protective Setup / Workspace Covering (Plastic Sheeting/Drop Cloths)
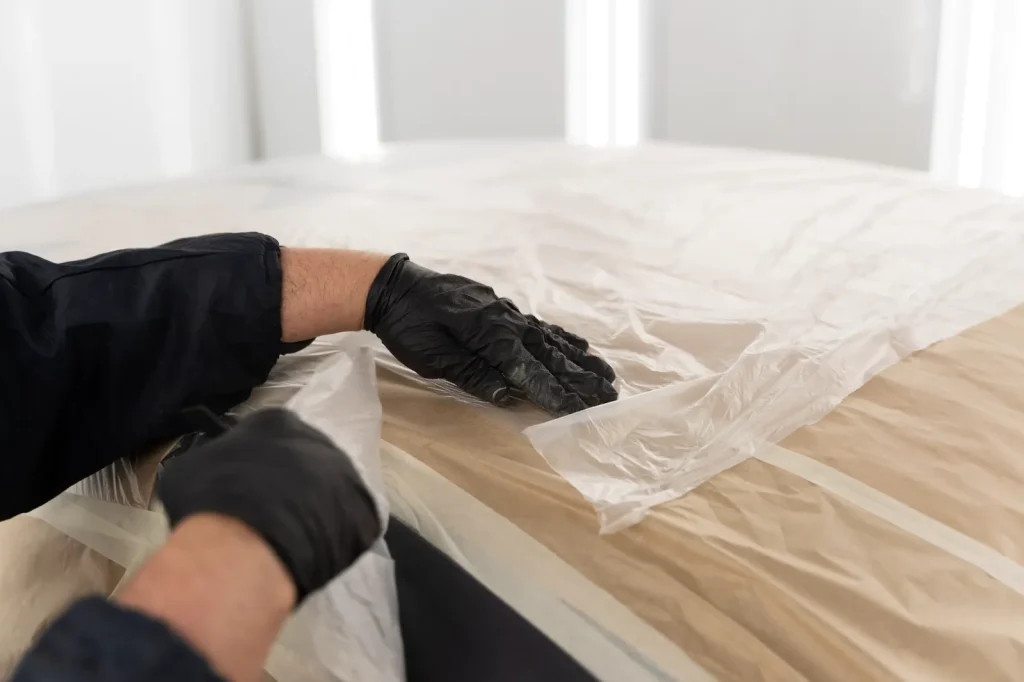
Acrylic pouring is delightfully messy, and preparing the workspace makes the activity smoother and more enjoyable. Before pouring begins, it’s helpful to cover the table or floor with plastic sheeting, old newspapers or a reusable drop cloth.
This not only protects the surface but also creates a relaxed environment where children and adult beginners can focus on creativity rather than worrying about spills.
Setting up raised supports for the canvas, such as plastic cups or small blocks, allows excess paint to drip freely without sticking to the work surface.
This ensures clean edges and encourages even drying. It’s also useful to keep paper towels, wet wipes or a small bin nearby so that any drips or sticky hands can be cleaned quickly.
Acrylic Mediums And What They Do
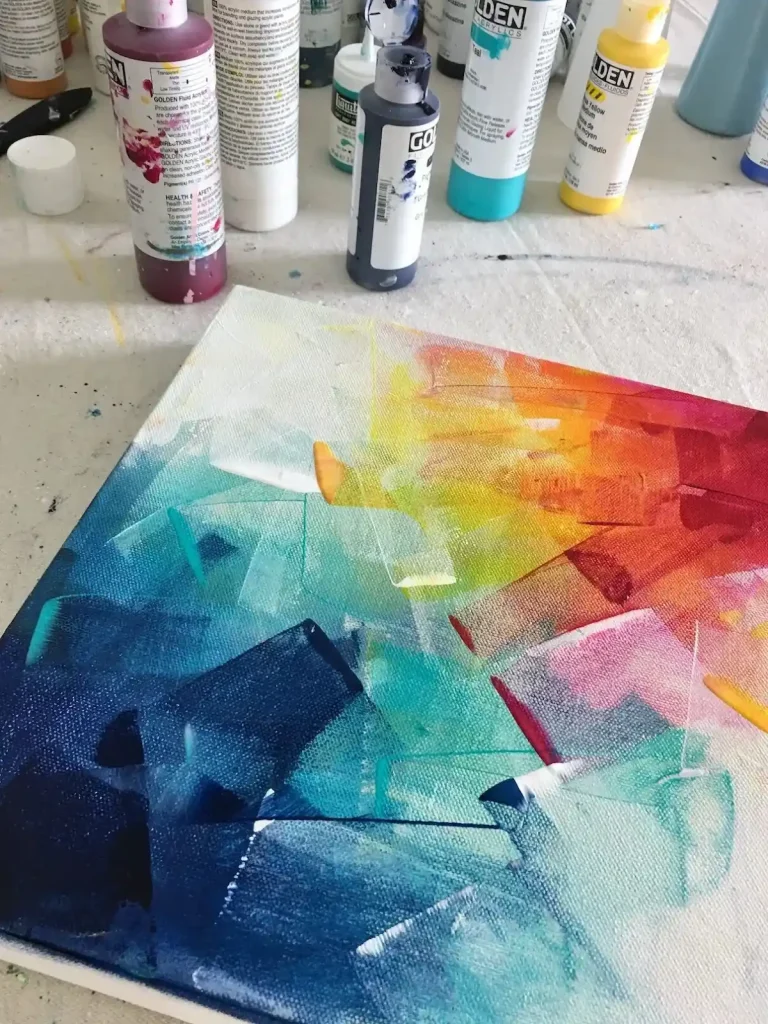
Acrylic mediums play a much larger role in the art world than simply preparing paint for acrylic pouring. While a pouring medium helps thin paint to achieve a smooth, flowing consistency, other mediums offer endless creative possibilities for artists of all ages.
These versatile additives allow you to adjust texture, change viscosity, increase transparency, enhance durability and even prepare acrylic paint for glow-in-the-dark or fabric-based applications.
Understanding mediums helps beginners, and especially young artists, discover how adaptable acrylic paint can be beyond fluid art.
For parents introducing art to children or adults exploring acrylic painting for the first time, mediums open the door to experimentation without the need for advanced skills. They support a playful, hands-on approach while teaching important concepts about paint behaviour.
At Art Pazionate, these mediums are often used in glow-in-the-dark acrylic painting and other mixed media projects, helping students explore effects that traditional pouring techniques cannot offer.
Here are some commonly used acrylic mediums and how they transform paint:
- Pouring Medium: Thins acrylic paint for smooth pouring without cracking or dulling colour.
- Gloss or Matte Medium: Adjusts the finish of paint, increases transparency and improves flow for glazing or glow-in-the-dark layering.
- Gel Mediums (Soft or Heavy): Add thickness and texture, allowing artists to create raised, sculptural designs or layered glow effects.
- Texture Mediums (Sand, Fibre, Modelling Paste): Introduce tactile surfaces ideal for older children and adults exploring mixed media compositions.
- Fabric Medium: Converts acrylic paint into fabric-friendly paint that remains flexible after drying, great for wearable art and kid-friendly craft projects.
- Retarder Medium: Slows drying time so beginners have more time to blend colours or apply detailed glow-in-the-dark accents.
- Flow Improver: Enhances smoothness and reduces brush marks, useful for fine detailing or building soft gradients.
By learning how each medium behaves, students gain the confidence to experiment creatively and personalise their artwork.
This is especially valuable for those who enjoy glow-in-the-dark acrylic painting, as mediums help glow pigments disperse evenly and adhere better, resulting in brighter and longer-lasting effects.
3 Best Acrylic Pouring Techniques For Stunning Fluid Art
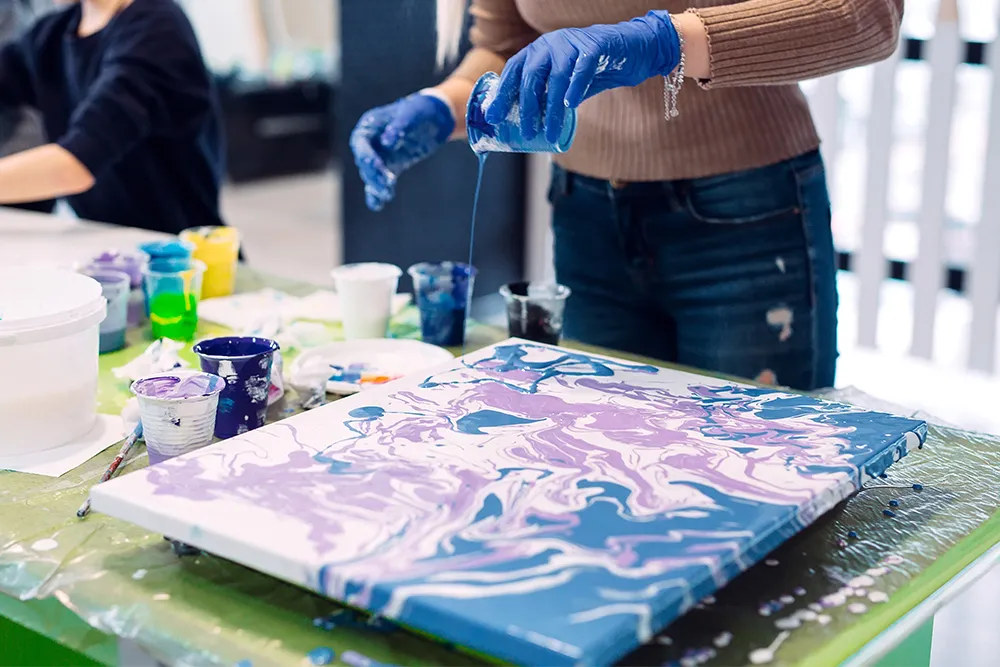
Acrylic pouring offers a variety of creative methods that beginners can explore, each producing unique patterns and colour interactions. These techniques help young artists and adult beginners understand how paint moves while allowing plenty of room for playful experimentation.
1. Dirty Pour
The dirty pour is one of the most beginner-friendly and visually captivating techniques in acrylic pouring. In this method, several colours are mixed individually with pouring medium, then gently layered into a single cup without stirring.
As the colours stack, they form soft transitions and contrasting layers that remain partially separated. When the cup is poured onto the canvas, the paints interact naturally, spreading, blending and creating organic shapes that feel almost marbled.
Children enjoy this technique because the results are always surprising, and adults appreciate how effortless yet expressive it feels. The dirty pour also teaches an important principle: how the order of colours affects the final outcome, which becomes a valuable skill for other acrylic painting approaches.
2. Flip Cup Pour
The flip cup pour creates dramatic, bold effects that often spark excitement for first-time artists. Instead of gently pouring the layered cup onto the canvas, the entire cup is placed face-down on the surface and quickly flipped over.
When the cup is lifted, the trapped paint rushes outward, forming vibrant blooms, bursts and sweeping spreads of colour.
This technique is especially engaging for children, as the reveal moment feels like a colourful eruption across the canvas.
For adult beginners, it removes the pressure of manual control and allows the paint’s natural flow to take the lead. The flip cup pour also highlights how density differences between colours create distinctive interactions and patterns.
3. Puddle Pour
The puddle pour is simple, intuitive and ideal for beginners who enjoy a slower, more controlled approach. Each colour is mixed separately, then poured one at a time into the same spot on the canvas, forming a layered puddle.
As the puddle grows, the colours sink, rise and subtly blend depending on their thickness and weight. Once the canvas is tilted gently, these layered puddles stretch across the surface to create flowing, circular or wave-like patterns.
The puddle pour is a wonderful introduction to understanding colour density and how different paints behave when stacked. Children often enjoy watching each new colour expand the puddle, while adult learners appreciate the calm, meditative rhythm of the process.
Step-by-Step Acrylic Pouring Tutorial for Beginners
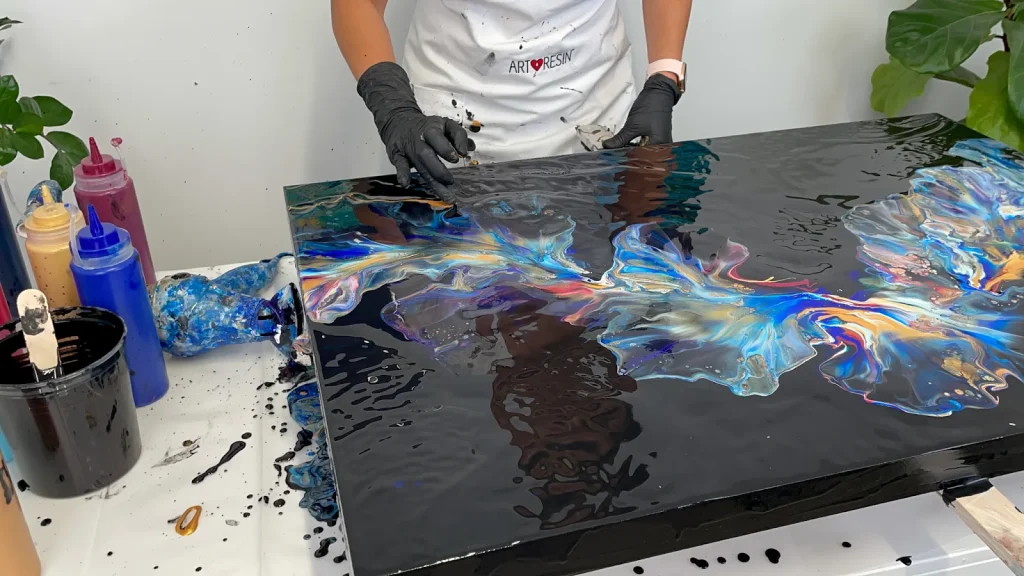
This simple, beginner-friendly guide walks you through the entire acrylic pouring process, from setting up your space to pouring the paint and finishing the artwork. The steps are easy for adult beginners to follow and enjoyable for children when supervised.
Step 1: Prepare Your Workspace
A smooth and stress-free pouring experience starts with a well-prepared workspace.
- Begin by covering your table or floor with plastic sheeting, newspapers or a reusable drop cloth. Acrylic pouring can get messy, and a protected area allows both children and adults to relax and enjoy the creative flow.
- Place small supports, like plastic cups, blocks or tins, under your canvas so excess paint can drip off cleanly, preventing the artwork from sticking to the surface beneath. It is also helpful to check that your canvas sits level; a slight tilt can cause colours to drift unintentionally.
- Keep paper towels, wet wipes and a small bin close by, especially if children are involved, as quick clean-ups keep the process calm and enjoyable. This thoughtful setup helps create a safe, encouraging space that supports exploration and creativity.
Step 2: Mix The Paints
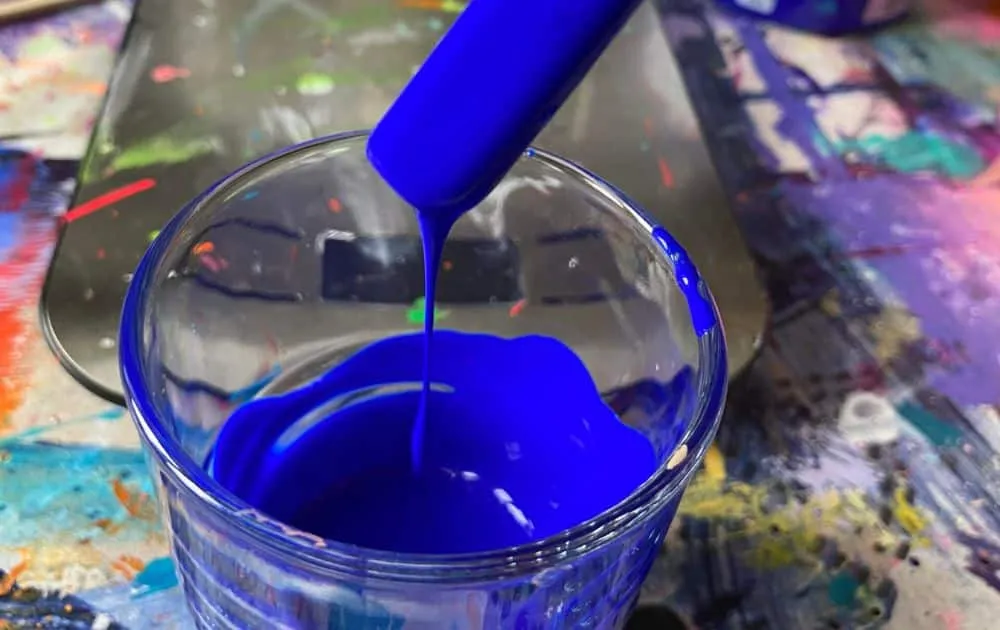
Mixing the paints is an exciting part of acrylic pouring, as it introduces beginners to how acrylics transform when combined with mediums.
- Start by placing each colour in a separate cup.
- Add your pouring medium, usually one to three parts medium for each part of paint, depending on the thickness of the acrylic.
- Stir gently but thoroughly using a stir stick, taking care not to whip air into the mixture.
- If the paint still feels too thick, add a few drops of water at a time until the mixture flows smoothly from the stir stick in a consistent ribbon. The perfect consistency should feel similar to warm honey or single cream, fluid enough to spread easily but still rich in colour.
Step 3: Combine Colours, The “Dirty Cup” Or “Flip-Cup” Setup
Once your colours are mixed, the next step is combining them in a cup for pouring.
- For a dirty cup, simply choose an empty cup and begin layering your colours one at a time.
- Pour each colour slowly down the inside of the cup or gently into the centre, allowing the layers to build without mixing. The order of colours matters, lighter paints tend to rise while heavier ones sink, so experimenting with different combinations can create beautiful surprises.
- If you plan to do a flip cup pour, fill the cup in the same way, then place the canvas on top of the cup, hold both firmly and flip them together.
- When the cup is lifted, a burst of colour spreads across the surface, creating lively, spontaneous patterns.
Step 4: Pour Onto The Canvas
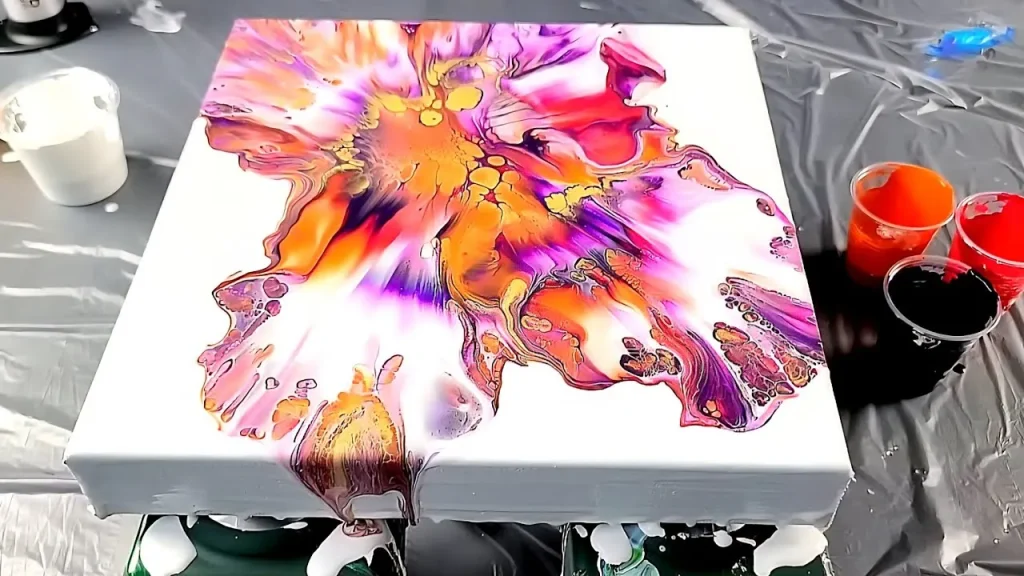
With your cup prepared, the most exciting moment begins, the pour.
- Gently lift the cup and allow the paint to flow onto the centre of the canvas or in any pattern you prefer. The paint will naturally begin to spread, creating soft blends and unexpected interactions between colours.
- Once the initial puddle is formed, slowly tilt the canvas in different directions, guiding the paint toward each edge.
- Tilting helps the colours stretch and merge, producing fluid shapes that feel organic and expressive.
Step 5: Optional, Add Effects Or Refine
After the paint has settled, you can choose to enhance the artwork with simple techniques that add depth and visual interest.
One popular effect is creating cells, small, bubble-like patterns that form when paints of different densities interact. This can be achieved by adding a tiny drop of silicone oil to some colours before pouring or gently heating the surface with a craft torch (adults only).
Another option is the swipe technique, where a palette knife, piece of plastic or even a damp paper towel is lightly dragged across the surface.
This motion stretches the colours and introduces waves, lacing or soft gradient effects. Older children and adults often enjoy experimenting with tools like straws, skewers or air blowers to create movement without touching the canvas directly.
Step 6: Let It Dry (And Finish)
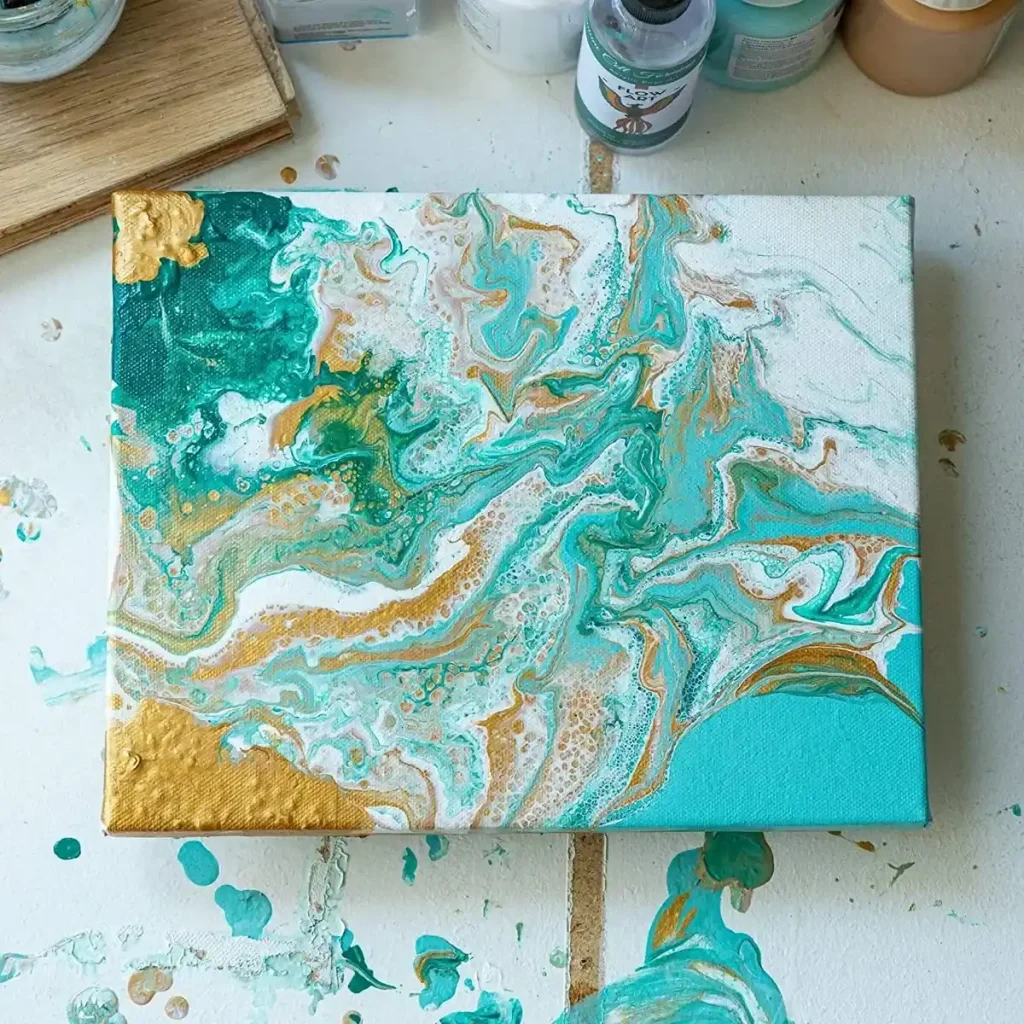
Once the artwork looks complete, place the canvas on a flat, dust-free surface to dry. Acrylic pouring pieces generally take 24 to 48 hours to dry fully, though thicker layers may require a little longer.
It is important not to move or touch the artwork during this stage, as even small vibrations can shift patterns or create uneven areas.
After the piece is completely dry, many artists choose to seal it with a varnish or clear coat. A gloss varnish enhances colour vibrancy and adds a smooth, glass-like finish, while a matte varnish offers a softer look. Sealing protects the artwork from dust, scratches and fading, especially if it will be displayed.
Conclusion About Acrylic Paint Pouring
Acrylic pouring is a captivating way to explore colour, movement and fluid expression, especially for beginners drawn to playful, low-pressure techniques. While acrylic pouring art is enjoyable to learn about, it’s only one part of what acrylic paint can do.
Many artists also experiment with acrylic mediums to adjust viscosity, enhance texture or create glow-in-the-dark effects, an approach we focus on.
At Art Pazionate, creativity is nurtured through a supportive environment where both children and adults are encouraged to express themselves freely rather than follow templates. Our weekly kids’ classes help young artists aged 4 to 12 build strong foundations while exploring diverse mediums, theories and techniques.
For children seeking one-off experiences, our ad-hoc workshops and holiday art camps run throughout the year, offering fun and enriching creative sessions.
Teens and adults are welcomed into our weekly classes, especially with our acrylic painting lessons, regardless of prior experience, receiving close guidance from our pazionate instructors to achieve their artistic goals.
We also offer mindfulness art workshops for those wishing to slow down and reconnect with the present moment, as well as corporate art workshops designed to strengthen teamwork and refresh the mind.
With small class sizes, thoughtful discussions, and an emphasis on bold expression, we guide each student to develop creativity, confidence and strong artistic skills while honouring their individual voice.
To begin your art journey or book a trial class, contact Art Pazionate via WhatsApp or our contact form.
Frequently Asked Questions About Acrylic Pain Pouring
Does Acrylic Pouring Require A Specific Type Of Acrylic Paint?
Acrylic pouring works best with fluid or easily thinned paints, but most standard acrylics can be used with the right pouring medium.
Is Acrylic Pouring Art Suitable For People With No Artistic Background?
Absolutely. Acrylic pouring art is highly accessible and allows complete beginners to create expressive pieces without technical drawing skills.
Can Acrylic Pouring Be Done Outdoors?
Yes, acrylic pouring can be done outdoors, but avoid windy, dusty or extremely humid conditions, which may affect drying and paint flow.
Should Beginners Start With Simple Acrylic Pouring Techniques First?
Yes, starting with basic pours like the dirty pour or puddle pour helps beginners understand paint flow before trying advanced methods.
Can Acrylic Pouring Be Combined With Other Art Styles?
Yes, many artists blend acrylic pouring with brushwork, line art, texture mediums or glow-in-the-dark acrylic techniques for unique mixed-media effects.